When you upgrade to a new iPhone, figuring out how to move all your data is a challenge everyone faces. There are four main methods: Quick Start, which transfers directly from your old iPhone to the new one; iCloud Backup, which restores over the internet; PC backup via Mac (Finder) or Windows (Apple Devices); and Move to iOS for switching from Android. The right method depends on your situation, but regardless of which you choose, there are pitfalls that apply to all of them — like LINE chat history (a popular messaging app in Japan), Japan-specific services, and SMS verification codes. This guide walks you through the entire migration process from start to finish.
Table of Contents
- Comparing the 4 Methods: Which One Should You Choose?
- Pre-Migration Checklist (All Methods)
- Quick Start (Easiest — Recommended)
- iCloud Backup
- PC Backup (Mac Finder / Windows Apple Devices)
- Switching from Android to iPhone (Move to iOS)
- Transferring LINE Chat History
- Japan-Specific Services: Mobile Suica and Other E-Money
- Post-Migration Checklist and Troubleshooting
- Erasing and Trading In Your Old iPhone
- Re-Pairing Apple Watch and AirPods
- Summary: Complete Migration Checklist
Comparing the 4 Methods: Which One Should You Choose?
When choosing a transfer method, narrow it down based on three questions: Is the old device an iPhone or Android? Is there enough iCloud storage? Do you have a computer handy?
| Method | Best For | Estimated Time | What You Need |
|---|---|---|---|
| Quick Start | Direct transfer from old iPhone (easiest) | 30 min – several hours | Both iPhones, Wi-Fi, chargers |
| iCloud Backup | Old iPhone not on hand; want to set up after leaving the store | 30 min – 2 hrs + download time | Available iCloud storage, Wi-Fi |
| PC Backup | iCloud storage is full; want a full local backup | 1–3 hours | Mac or Windows PC, USB cable |
| Move to iOS | Switching from Android to iPhone | 30 min – 1 hour | Android device, Wi-Fi |
If you have both your old and new iPhone on hand at the same time, Quick Start is the top choice — it costs nothing extra and is the simplest option. For switching from Android, Move to iOS is the only option, but LINE and e-money services require separate transfer steps.
Pre-Migration Checklist (All Methods)
Regardless of which method you choose, completing the following steps before migrating will prevent data loss and save you from having to redo things.
Update Your Old iPhone to the Latest iOS
Go to Settings → General → Software Update and update the old device to the latest iOS. If the new iPhone is running a newer iOS version than the old one, restoring from an older backup may not work.
Create a Backup (For All Methods Except Quick Start)
Create an up-to-date backup via iCloud or a computer. Make sure the device is connected to Wi-Fi and plugged in while the backup is running.
Unpair Your Apple Watch
If you have an Apple Watch, you must unpair it from your old iPhone before migrating. Go to Watch app → My Watch → tap the "i" icon next to your Apple Watch → Unpair Apple Watch. Unpairing automatically creates a backup of your Watch, so you can restore it when re-pairing with the new iPhone.
Temporarily Turn Off iMessage (If Your Number Is Changing)
If you're changing carriers and your phone number will change, or if you're selling the old device, turn off iMessage on the old iPhone before migrating: Settings → Messages → iMessage → Off. Skipping this step can cause messages intended for the new device to arrive on the old one.
Verify You're Signed in to Your Apple ID
Tap Settings → your name at the top and confirm you're signed in to your Apple ID. You'll be asked for your Apple ID and password during new device setup. Since two-factor authentication codes are sent to the old device, keep it nearby during the transfer.
Prepare Your SIM or eSIM
For a physical SIM, you'll need to swap the SIM card. For eSIM, check in advance with your carrier's app or website how to transfer the eSIM to the new device. The process varies by carrier, so consult the official support page for instructions.
Quick Start (Easiest — Recommended)
Quick Start lets you transfer data directly from your old iPhone to a new one and is available on iOS 12.4 or later. Because it doesn't use iCloud storage, you can migrate at no extra cost — that's its biggest advantage.
Power On Your New iPhone and Bring It Close to the Old One
- Turn on the new iPhone. The "Hello" screen will appear.
- Connect to Wi-Fi and make sure both iPhones are on the same network.
- Hold the new iPhone within a few inches of the old one. A "Set Up New iPhone" popup will appear on the old iPhone's screen.
- Tap "Continue" on the old iPhone. You'll be prompted to point the new iPhone's camera at the old one. Scan the animated pattern shown on the old iPhone using the new iPhone's viewfinder.
- Enter the old iPhone's passcode on the new iPhone to authenticate.
Choosing a Transfer Method and Expected Time
Once authentication is complete, you'll see a "Choose Transfer Method" screen.
- Transfer from iPhone: Both devices sync directly via Wi-Fi. Apps, photos, and settings are copied as-is. Expect 1–3 hours for around 100 GB of data.
- Download from iCloud: Creates an iCloud Backup first, then restores it on the new device. Use this option if you need to hand over the old device before setup is complete.
If you choose "Transfer from iPhone," keep both devices plugged in and near each other throughout the transfer. If Wi-Fi drops or the screen dims and the Bluetooth connection breaks, the transfer will be interrupted.
Things to Watch Out for During Quick Start
- App downloads continue after the transfer. Stay connected to Wi-Fi for a while.
- Face ID and Touch ID need to be set up again on the new device.
- Cards in Wallet (Apple Pay) need to be re-verified on the new device.
- Since Bluetooth is used for the nearby communication, moving away from other Bluetooth devices can help keep the connection stable.
iCloud Backup
This method is useful when you don't have the old device on hand — for example, after upgrading at a carrier store — or when you want to create a backup first and set up the new device later.
Create a Backup on Your Old iPhone
Go to Settings → your name at the top → iCloud → iCloud Backup → Back Up Now. Run this while connected to Wi-Fi and plugged in. When you see "Last Backup: Today at XX:XX," the backup was successful.
What to Do When iCloud Storage Is Full
The free iCloud plan includes 5 GB. If you have a lot of photos and videos, you may run out of space.
- Temporarily upgrade your plan: The easiest approach is to upgrade to iCloud+ 50 GB ($0.99/month) or 200 GB ($2.99/month), complete the backup, then downgrade.
- Switch to a PC backup: No storage limits to worry about, making it ideal if you have a large photo and video library. See the "PC Backup" section below.
- Check your available iCloud storage at Settings → your name → iCloud → Manage Storage.
Restore on Your New iPhone
- From the "Hello" screen on the new iPhone, connect to Wi-Fi.
- On the "Transfer Your Apps and Data" screen, select "Restore from iCloud Backup."
- Sign in with your Apple ID and select the backup to restore (date and size are shown).
- After the restore completes, apps will download automatically. Stay on Wi-Fi.
Right after restoring, apps are still downloading in the background — the trick is to leave the device connected to Wi-Fi for a while. You can monitor download progress by looking at the app icons on the Home Screen (a progress gauge will appear).
PC Backup (Mac Finder / Windows Apple Devices)
If iCloud storage is insufficient or you want to save everything locally, a PC backup is the way to go. Enabling encrypted backup lets you back up items that iCloud doesn't save, including health data, saved passwords, and SMS history.
Backup and Restore with Mac (Finder)
Starting with macOS Catalina (10.15), iTunes was replaced by Finder.
To back up:
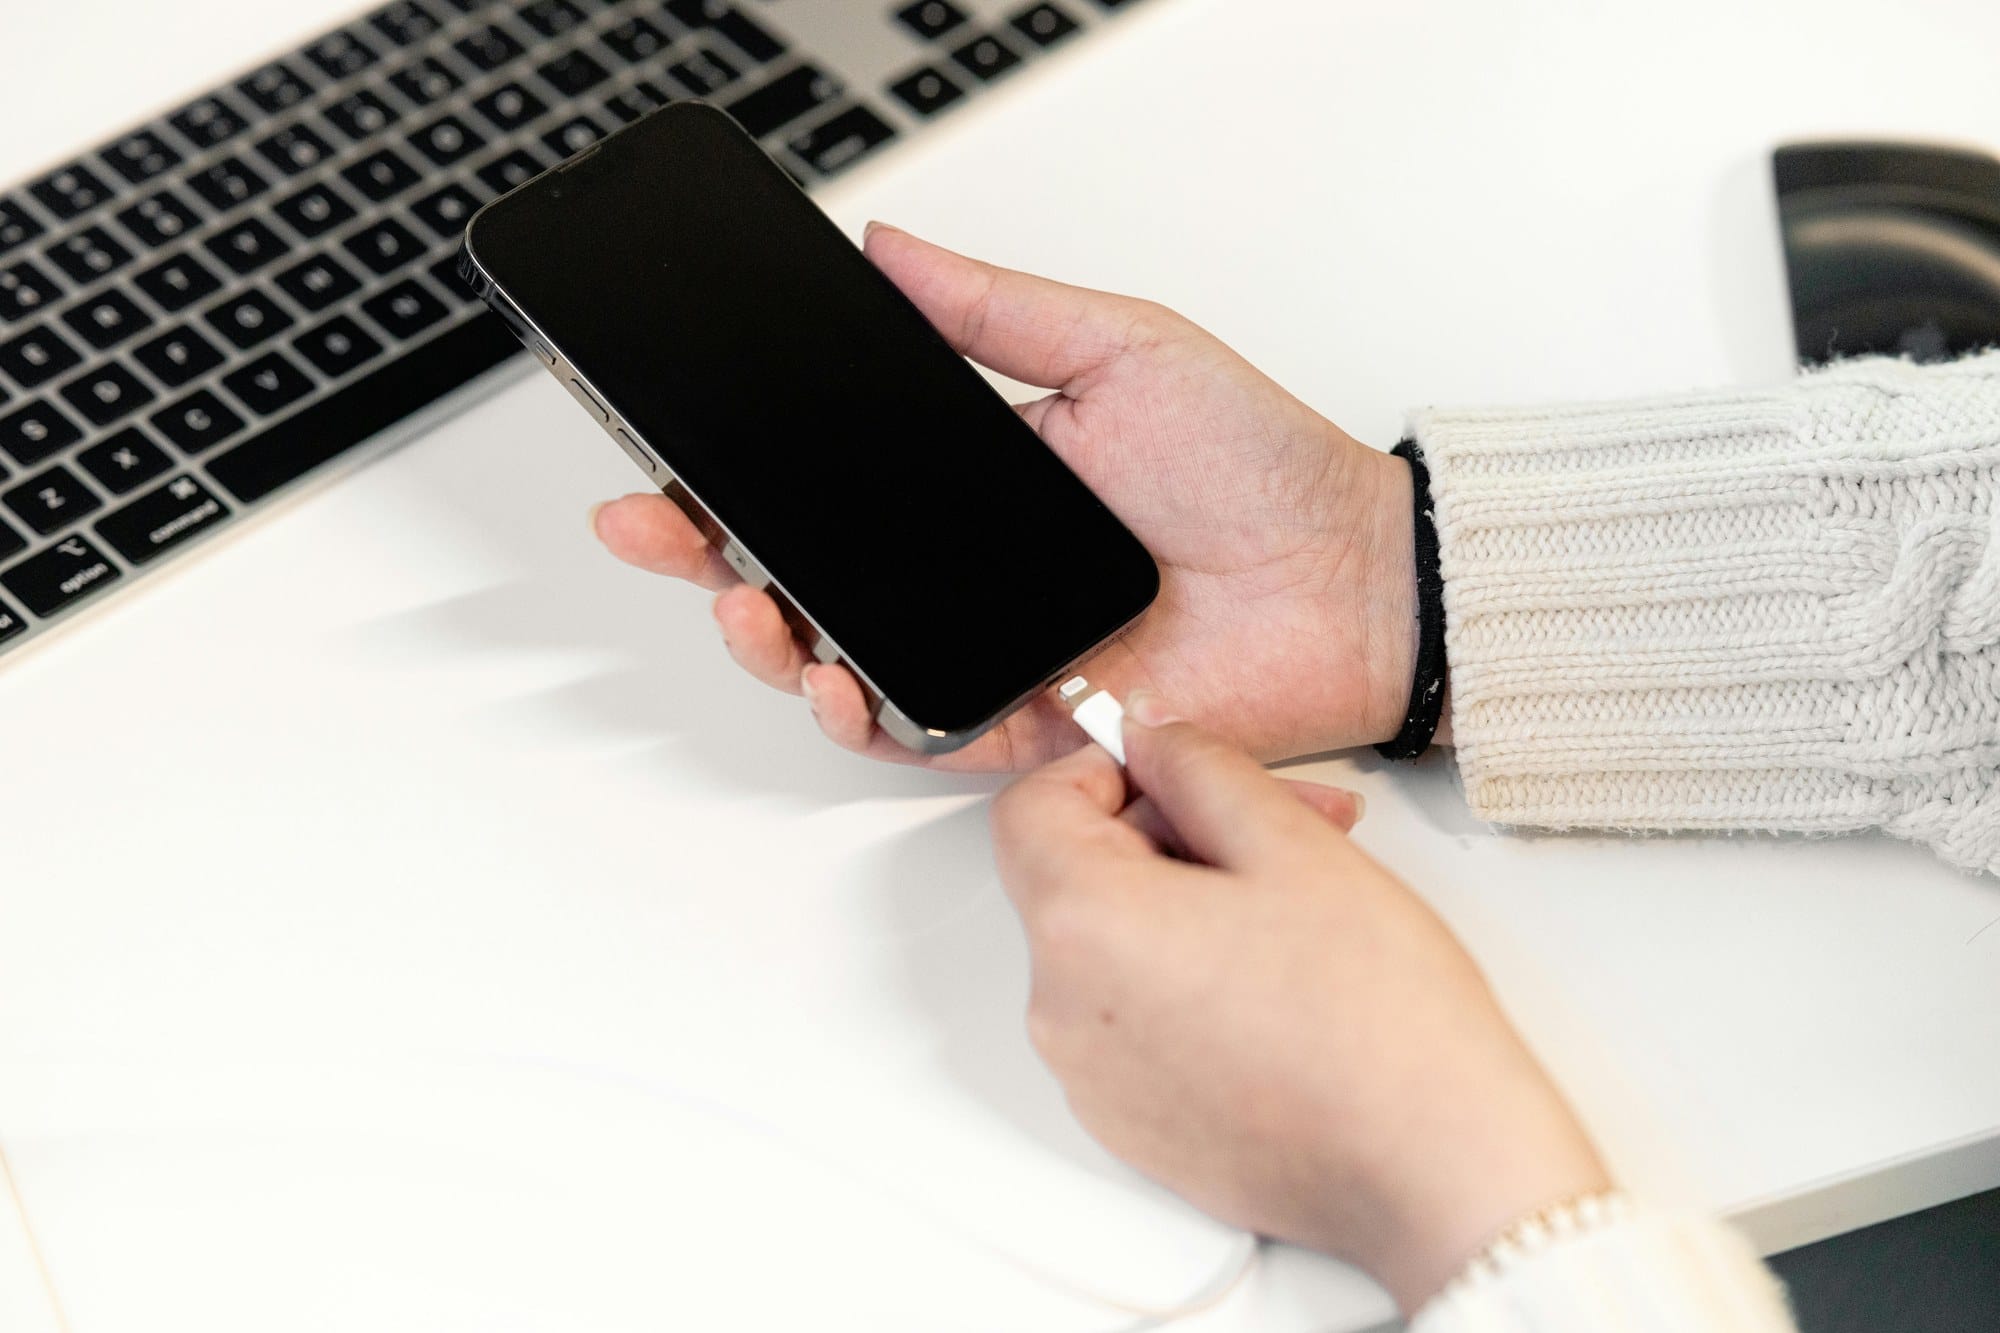
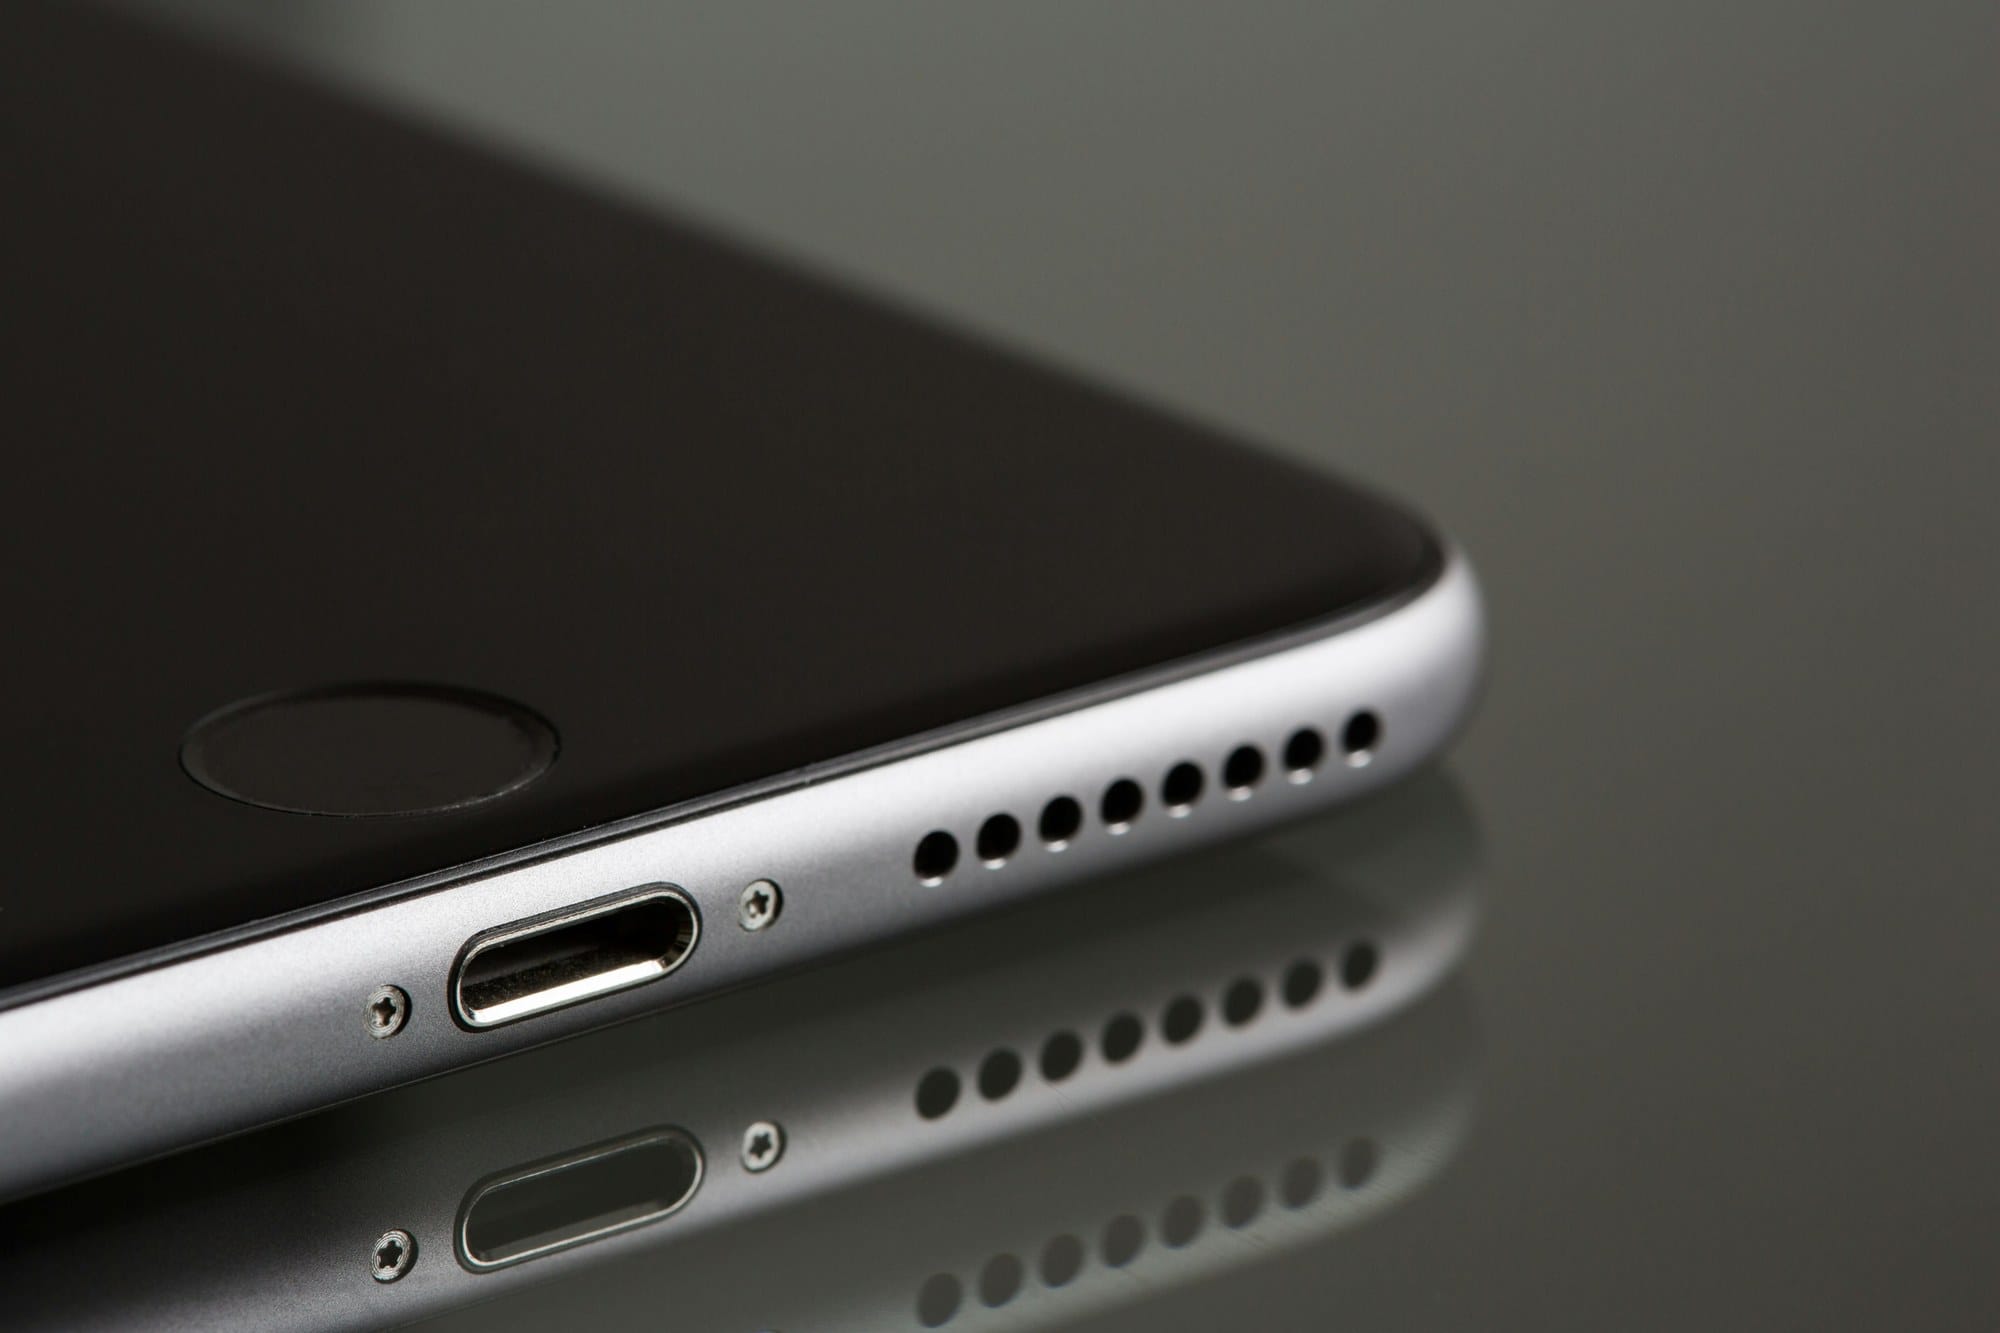
- Connect your iPhone to the Mac using a Lightning or USB-C cable.
- Select your iPhone in the Finder sidebar (tap "Trust" on the iPhone if prompted for the first time).
- Under the "General" tab, select "Back up all of the data on your iPhone to this Mac."
- Check "Encrypt local backup" and set a password (recommended).
- Click "Back Up Now."
To restore:
- Connect the new iPhone to the Mac and select it in the Finder sidebar.
- Click "Restore Backup" and choose the backup.
- Enter the password if you used an encrypted backup.
Backup and Restore with Windows (Apple Devices)
On Windows, use the Apple Devices app from the Microsoft Store (the successor to iTunes). On Windows 11, it may already be installed.
- Search for "Apple Devices" in the Microsoft Store and install it.
- Connect your iPhone via USB cable and launch the app.
- Click the iPhone icon → "Summary" → "Back up all of the data on your iPhone to this computer."
- Check "Encrypt backup" before running it (recommended).
What Encrypted Backups Include
The following items are only saved with an encrypted backup, not a standard one.
- Passwords stored in iCloud Keychain (Wi-Fi passwords, account credentials)
- Health and fitness data
- SMS, MMS, and iMessage history
- Ringtones and purchased content
If you forget the encryption password, you won't be able to restore. Save it in a password manager.
Switching from Android to iPhone (Move to iOS)
When switching from Android to iPhone, use Apple's official app Move to iOS. It connects both devices directly over Wi-Fi, so even large amounts of data transfer relatively quickly.
Move to iOS Steps
- During iPhone initial setup, select "Move Data from Android."
- On the Android device, install and open "Move to iOS" from the Google Play Store.
- A 10-digit code will appear on the iPhone. Enter it into the Move to iOS app on Android.
- Both devices connect over a direct Wi-Fi link (the iPhone acts as an access point).
- Select the data you want to transfer and tap "Continue."
- After the transfer completes, confirm "Migration complete" on Android, then continue iPhone setup.
Do not change Wi-Fi settings on the Android device during transfer. Switching to a different Wi-Fi network will interrupt the process.
What Can and Cannot Be Transferred
| Can Be Transferred | Cannot Be Transferred |
|---|---|
| Contacts, message history (SMS/MMS) | LINE chat history and LINE stickers (a popular Japanese messaging app) |
| Photos and videos | Japan-specific e-money (Mobile Suica, osaifu-keitai, etc.) |
| Email account settings | Android-only apps (Google Play apps) |
| Calendar events | Paid app purchase history (repurchase required) |
| Bookmarks (Chrome → Safari) | Google Play Music / Google Play Store purchases |
Google services you use on Android (Gmail, Google Calendar, Google Drive, etc.) remain accessible on iPhone by installing the respective Google apps.
Transferring LINE Chat History
LINE chat history requires preparation regardless of which transfer method you use. In particular, transferring chat history from Android to iPhone is not supported, so be aware of this limitation.
iPhone to iPhone Chat History Transfer
If you use Quick Start, LINE chat history transfers automatically. For iCloud Backup or PC Backup, follow these steps:
- Open LINE on the old iPhone, go to Settings (gear icon) → Chats → Back Up Chats.
- Tap "Back Up Now" to create a backup to iCloud (Wi-Fi required).
- After the LINE backup completes, create a full device backup via iCloud or PC.
- Sign in with the same Apple ID on the new iPhone and install LINE.
- When logging in to LINE, select "Restore Chats."
What to Do If Your Phone Number Changes
If your phone number is changing, you must enable account transfer on the old device before switching.
- On LINE on the old iPhone, go to Settings → Account → Account Transfer → Allow Account Transfer and turn it on.
- This setting is valid for 36 hours. Log in on the new device within that window.
- Launch LINE on the new device and verify with the new phone number.
- Your friends list, purchased stickers, and coins carry over (chat history requires an iCloud backup).
Android to iPhone: Chat History Cannot Be Transferred
As of 2024, transferring LINE chat history from Android to iPhone is not officially supported. Your friends list, purchased stickers, LINE Pay balance, and coins will carry over, but past chat history will be lost. Before switching, take screenshots in the Android LINE app or save important conversations as text.
Japan-Specific Services: Mobile Suica and Other E-Money
E-money tied to Android's FeliCa (osaifu-keitai) cannot be transferred directly to an iPhone. Each service requires its own "device change" procedure. If you have Japanese-region services like Mobile Suica or osaifu-keitai, consult each service's official support page for the correct steps.
Mobile Suica
Follow these steps to transfer Mobile Suica:
- In the Suica app on Android, go to Member Menu → Device Change for My Suica (registered card) and delete the card from the Android device.
- Add Suica to the Wallet app on iPhone and re-register using your Suica ID number.
- Your balance carries over.
For iPhone-to-iPhone transfers (Quick Start, iCloud, or PC backup), Suica cards registered in Wallet carry over automatically — no re-setup needed (though Apple Pay re-verification is required).
PASMO, Rakuten Edy, nanaco, and WAON
- PASMO: When moving from Android to iPhone, complete the device change procedure in the PASMO app.
- Rakuten Edy: Complete the "device change" procedure in the Rakuten Edy app before switching. Balance backup is required.
- nanaco / WAON: Complete the device change procedure in each respective app, then transfer after reinstalling the iPhone version.
Consult the official support page for each service for detailed steps. If you reset Android before completing the device change procedure, you may lose your balance and transaction history.
Post-Migration Checklist and Troubleshooting
Even after data migration is complete, several settings and verifications are needed. Use the checklist below as a guide.
Migration Verification Checklist
- Photos: Compare the number of photos in your library against the old device. If iCloud Photos is enabled, downloading may take some time.
- Contacts: Open the Phone app and confirm your contacts appear.
- LINE: Verify your friends list, stickers, and chat history.
- Apple Pay (Wallet): Open your registered cards and complete "device verification."
- Passwords: Go to Settings → Passwords and confirm your iCloud Keychain passwords have transferred.
- Email: Confirm you can receive emails. IMAP accounts are reconfigured automatically.
Transferring Authenticator Apps
Two-factor authentication apps like Google Authenticator and Authy generally carry over via Quick Start, iCloud Backup, or PC Backup. However, some apps require re-registration per device. Check which authenticator apps you're using before migrating, and save backup codes for each service if needed.
Verifying SMS Delivery
SMS authentication codes from banks and payment services are delivered to whichever device has the SIM inserted. After swapping the SIM into the new device, confirm you can receive messages before handing off the old device.
Restoring Wi-Fi Passwords
If iCloud Keychain is enabled, saved Wi-Fi passwords sync automatically to the new device. You can check them at Settings → Wi-Fi → your connected network → Password.
Erasing and Trading In Your Old iPhone
Only erase the old device after confirming that all data has transferred successfully to the new one.
How to Erase
- Turn off Find My: Go to Settings → your name → Find My → Find My iPhone → Off (your Apple ID password is required). Skipping this step leaves "Activation Lock" on the device, preventing the next owner from using it.
- Go to Settings → General → Transfer or Reset iPhone → Erase All Content and Settings.
- Enter your Apple ID password to confirm.
- When the "Hello" screen appears, the erase is complete.
Trade-In Tips
- Apple Trade In: Apply through the Apple Store app or the Apple website. Credit is applied toward a new device purchase.
- Carrier trade-in programs: Major US carriers (Verizon, AT&T, T-Mobile, etc.) frequently run trade-in promotions, especially when you switch or upgrade.
- Third-party buyers: Services like Decluttr, Swappa, or local buyback stores. Price varies based on storage capacity and condition. Compare multiple offers before selling.
Re-Pairing Apple Watch and AirPods
Re-Pairing Apple Watch
If you unpaired Apple Watch from the old device beforehand, you can restore from backup when pairing with the new iPhone.
- Open the Watch app on the new iPhone (it comes pre-installed with iOS).
- Tap "Start Pairing."
- For a new Apple Watch, follow the on-screen instructions. To restore an existing Watch, select "Restore from Backup."
- After pairing, your watch face, apps, and health settings are restored.
Re-Pairing AirPods
If you sign in to the same Apple ID on the new iPhone, AirPods will automatically connect to the new iPhone via iCloud in most cases. If they don't connect, place the AirPods in the case, hold the button on the back to reset them, then manually pair with the iPhone.
Summary: Complete Migration Checklist
The steps required for iPhone data migration vary depending on your old device, new device, and transfer method. Here's a complete overview of every stage.
Before Migration
- Update the old iPhone to the latest iOS
- Unpair Apple Watch (if you have one)
- Back up LINE chat history to iCloud (for iPhone to iPhone transfers)
- Complete device change procedures for Japan-specific e-money like Mobile Suica (for Android to iPhone)
- Turn off iMessage temporarily (if your phone number is changing)
- Create a backup (iCloud or PC)
During Migration
- Quick Start: Stay connected to Wi-Fi, keep both devices plugged in and near each other
- iCloud Backup: Select "Restore from iCloud Backup"
- PC Backup: Click "Restore Backup" in Finder or Apple Devices
- Move to iOS: Turn off Find My on Android before proceeding
After Migration
- Verify photos, contacts, and LINE
- Re-verify Apple Pay (Wallet)
- Confirm authenticator apps work
- Re-pair Apple Watch
- Turn off Find My on the old iPhone, then erase it
For an overview of all backup methods, see How to Back Up Your iPhone | iCloud vs. Mac vs. Windows Comparison. When you're ready to hand off the old device, How to Factory Reset an iPhone | Sign-out Checklist for Selling or Trading In covers the full erase procedure. For general iPhone troubleshooting, check out the iPhone Troubleshooting Guide | Fixes Organized by Symptom.