"The PC powers on but freezes at the manufacturer logo." "The Windows spinning animation loops forever without reaching the desktop." "Automatic Repair kicks in, finishes, then loops right back to the same screen." When Windows won't boot, the stage at which it gets stuck completely determines the cause — making that initial diagnosis the hardest part. This guide covers Windows 11 and Windows 10 boot failures where the OS itself fails to start (app crashes and performance issues are out of scope). Steps are ordered by effectiveness: hardware checks → BIOS → Recovery Environment (WinRE) → Safe Mode → Boot Loader repair → disk repair → last-resort options.
Table of Contents
- First: Identify Your Failure Pattern
- Basic Hardware Checks
- Check Boot Order in BIOS/UEFI
- Run Startup Repair / Automatic Repair
- Boot into Safe Mode to Isolate the Problem
- System Restore and Update Uninstall
- Repair the Boot Loader (BCD)
- Disk and System File Checks
- Recurring Blue Screen of Death
- Last Resort: Reset This PC or Clean Install
- Summary: Ordered Checklist
First: Identify Your Failure Pattern
"Windows won't boot" covers several distinct scenarios, and where the process stops determines what fix to apply. Think back to what you saw after pressing the power button and match your situation to one of the patterns below.
Powers on but freezes at the manufacturer logo
After the brand splash screen (ASUS, Lenovo, Dell, etc.) the system goes no further. Windows hasn't started loading yet, so the likely causes are a BIOS/UEFI misconfiguration, a storage drive that isn't being detected, or a faulty cable connection.
Freezes at the Windows logo or spinning animation
The Windows boot animation (the spinning dots) appears but never transitions to the desktop. The OS has started loading, pointing to corrupted system files, a driver conflict, or a failed Startup Repair.
Stuck in an Automatic Repair loop
"Preparing Automatic Repair" or "Diagnosing your PC" appears, runs to completion, then loops back to the same screen. Windows triggers Automatic Repair after a failed boot attempt, but when the repair itself cannot succeed this loop results. Common causes: BCD corruption, corrupted system files, or disk errors.
"Recovery" screen appears
A blue screen reads "Recovery" and displays a message like "Your PC couldn't be repaired." This appears after multiple failed Automatic Repair attempts. From here you enter manual repair mode via Troubleshoot → Advanced options.
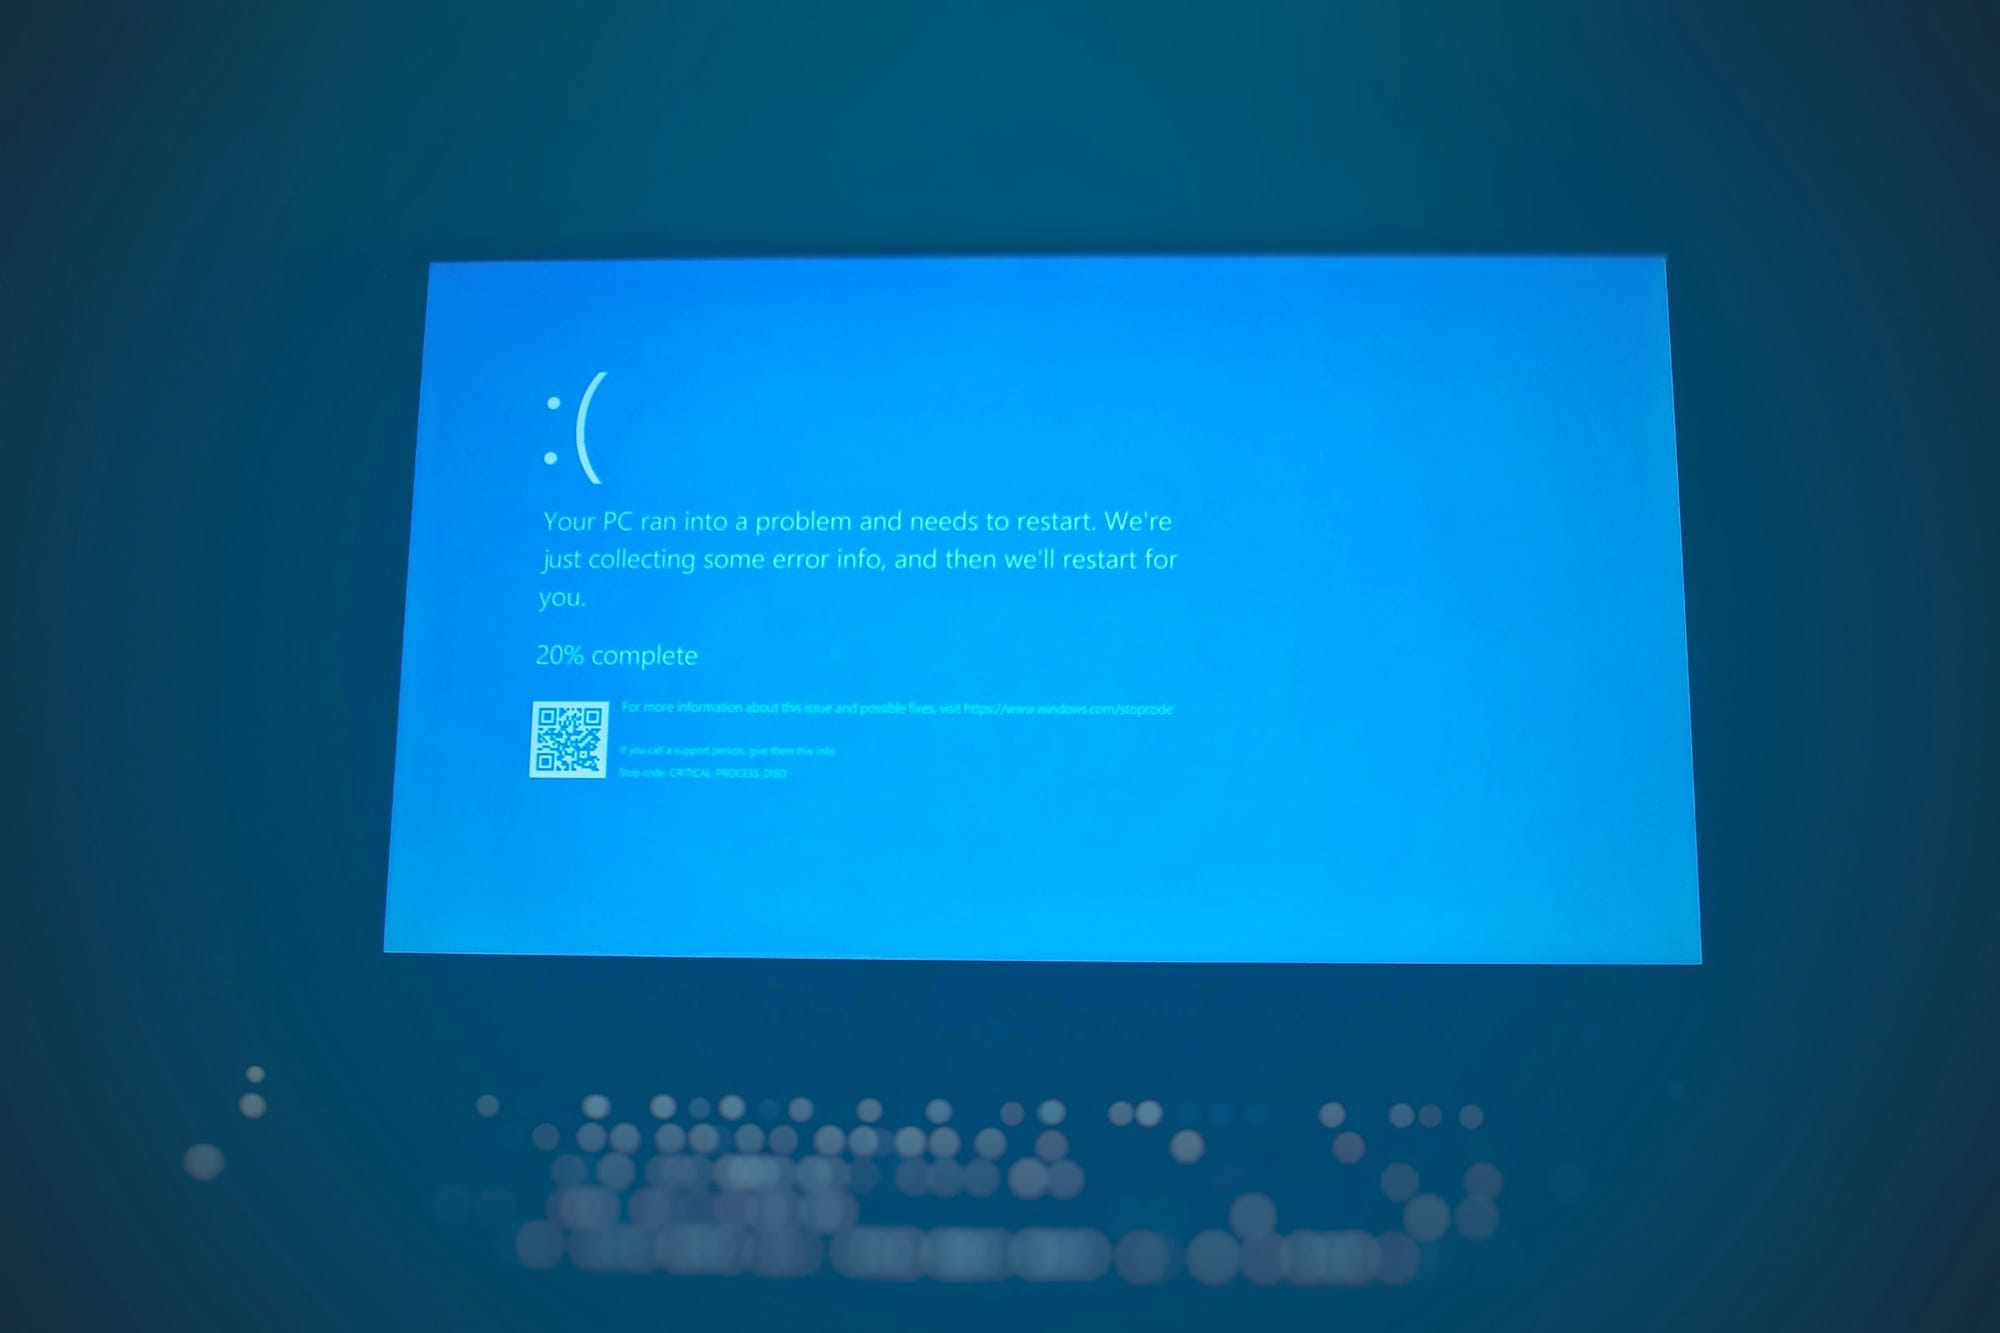
Blue screen (BSOD) followed by failure to boot
A blue screen appears, the PC restarts, and the same BSOD recurs — preventing a normal boot. Error codes such as CRITICAL_PROCESS_DIED, INACCESSIBLE_BOOT_DEVICE, or NTFS_FILE_SYSTEM are your starting point for diagnosing the root cause.
Quick-reference table by symptom
| Symptom | Common cause | First thing to try |
|---|---|---|
| Freezes at manufacturer logo | BIOS settings / drive not detected | Unplug all peripherals; check Boot Order in BIOS |
| Freezes at Windows logo / spinning animation | Corrupted system files / driver conflict | Force 3 shutdowns to enter WinRE, run Startup Repair |
| Automatic Repair loop | BCD corruption / disk errors | Repair the Boot Loader from WinRE |
| Recovery screen | OS corruption / startup failure | Use Advanced options for manual repair |
| BSOD then fails to boot | Driver / hardware / system file corruption | Boot Safe Mode and check the error code |
Basic Hardware Checks
Unplug the power cable, battery, and all peripherals
Before any software-level repair, rule out simple hardware issues. If a USB drive, external HDD, phone, or SD card is plugged in, the BIOS may try to boot from it and stop there.
- Shut down and unplug the AC adapter.
- Disconnect everything from the PC — USB devices, SD cards, external displays, and so on.
- Power on with only the mouse and keyboard attached.
If the PC boots successfully, one of the disconnected devices is the culprit. Reconnect them one at a time to identify which one causes the failure.
Discharge a laptop
On laptops, residual static charge can sometimes prevent booting. A discharge often resolves this.
- Shut down and unplug the AC adapter.
- Remove the battery if the model allows it (skip this step if the battery is non-removable).
- Hold the power button for 30 seconds to drain any residual charge.
- Reinstall the battery (if removed), connect only the AC adapter, and power on.
Check Boot Order in BIOS/UEFI
How to enter BIOS
During the brief moment the manufacturer logo is on screen, press the designated key to open the BIOS/UEFI settings. The key varies by manufacturer.
| Manufacturer | BIOS key | Boot menu key |
|---|---|---|
| ASUS | Del / F2 | F8 |
| Lenovo | F1 / F2 / Del (varies by model) | F12 |
| Dell | F2 | F12 |
| HP | F10 / Esc | F9 |
| Acer | Del / F2 | F12 |
| MSI | Del | F11 |
| Surface | Hold Volume Up while pressing power | — |
Start pressing the key immediately after powering on. If you miss the window, force the PC off while Windows is attempting to load, then try again right away.
Boot device priority (Boot Order)
Open the Boot, Boot Priority, or Boot Sequence section and confirm the internal storage drive (SSD/HDD) is listed first.
- Correct first entry: "Windows Boot Manager" or your internal drive name (e.g., "Samsung SSD 870", "NVMe KIOXIA")
- Incorrect first entry: "USB Storage", "Network Boot (PXE)", or "Removable Device"
After adjusting, press Save & Exit (usually F10) to save and reboot.
Confirm the storage drive is detected
If no internal drive appears in the Boot Order list at all, the drive is not being detected. On a desktop, reseat or swap the SATA cable; on a laptop, check that the internal SSD is fully seated in its slot. M.2 NVMe drives can lose contact if the retaining screw is loose.
Secure Boot / CSM pitfalls
After an OS reinstall or when attempting to boot from a different disk, a Secure Boot mismatch can block startup.
- Secure Boot: Blocks booting from an MBR disk in a UEFI environment. Temporarily disable it under the BIOS Security or Boot tab to test.
- CSM (Compatibility Support Module): The legacy BIOS compatibility layer. Mixing a UEFI OS with CSM enabled can cause boot failures. The standard configuration is GPT disk + UEFI with CSM disabled.
Run Startup Repair / Automatic Repair
Force three shutdowns to enter WinRE
When Windows won't boot, getting into the Windows Recovery Environment (WinRE) is the first priority. You don't need an installation USB — forcing the PC off repeatedly triggers WinRE automatically.
- Power on and, once the Windows logo begins to appear, hold the power button for 4–5 seconds to force it off.
- Repeat this three times.
- On the fourth boot, "Preparing Automatic Repair" or "Diagnosing your PC" appears.
- After diagnosis, the Automatic Repair screen is displayed.
- Click Advanced options.
From Advanced options, navigate to Troubleshoot → Advanced options to reach the repair menu.
Run Startup Repair
Startup Repair is available under WinRE's Advanced options. It automatically detects and fixes problems with the files and Boot Loader needed to start Windows.
- WinRE → Troubleshoot → Advanced options → Startup Repair
- Select your Windows account (sign-in may not be required).
- Wait for the repair to complete (typically 5–15 minutes).
- Restart and check whether Windows boots normally.
Even if "Startup Repair couldn't repair your PC" appears, a log is written that can guide the next step.
Where to find the repair log
The Startup Repair log is saved to C:\Windows\System32\LogFiles\Srt\SrtTrail.txt. From WinRE's Command Prompt, run notepad C:\Windows\System32\LogFiles\Srt\SrtTrail.txt and look for the "Root cause found:" line to get a concrete lead on the cause.
Boot into Safe Mode to Isolate the Problem
How to enter Safe Mode from WinRE
If Startup Repair doesn't fix the issue, try booting into Safe Mode to isolate the cause. Safe Mode starts Windows with only the minimum required drivers and services.
- WinRE → Troubleshoot → Advanced options → Startup Settings
- Click Restart.
- After the restart, the Startup Settings menu appears.
- Press F5 for Safe Mode with Networking.
For more Safe Mode entry methods (Shift+Restart, msconfig, and Command Prompt), see How to Boot Windows in Safe Mode | Shift+Restart, msconfig, and Command Methods.
Safe Mode success or failure as a diagnostic branch
Whether Safe Mode boots successfully is the key decision point for what to try next.
- Safe Mode boots successfully: The cause is a driver, startup app, or service that only loads in normal mode. Uninstall recently added drivers or software to pinpoint it.
- Safe Mode also fails to boot: Core OS file corruption, Boot Loader corruption, or a hardware problem is likely. Proceed to the Boot Loader repair and disk check steps below.
If a black screen is preventing the boot, How to Fix a Windows Black Screen | Boot, Login, and Post-Update Cases may also be useful.
System Restore and Update Uninstall
Roll back to a restore point
If the PC was booting normally just yesterday, System Restore is the fastest path to recovery — it rolls the system back to a snapshot taken before the problem started.
- WinRE → Troubleshoot → Advanced options → System Restore
- A list of restore points appears.
- Choose a restore point dated before the problem began.
- Review affected programs and click Finish to start the restore.
If no restore points are listed, System Protection was disabled or no points were ever created. Move on to the next step.
Uninstall a quality or feature update
If the PC stopped booting immediately after Windows Update, that update is likely the cause.
- WinRE → Troubleshoot → Advanced options → Uninstall Updates
- Choose "Uninstall latest quality update" or "Uninstall latest feature update".
- Uninstall and restart.
After uninstalling, the same update may be reapplied automatically. Go to Settings → Windows Update → "Pause updates" to hold it off for a few weeks. For more Windows Update troubleshooting, see How to Fix Failed Windows Update.
Repair the Boot Loader (BCD)
Windows uses a database called the BCD (Boot Configuration Data) to start up. When the BCD is corrupted, the system can't boot. This is the standard fix when Startup Repair falls short. Open Command Prompt from WinRE: WinRE → Troubleshoot → Advanced options → Command Prompt.
Run bootrec commands in order
Run the following commands one at a time, waiting for each to finish before proceeding.
bootrec /fixmbr
bootrec /fixboot
bootrec /scanos
bootrec /rebuildbcd- bootrec /fixmbr: Rewrites the Master Boot Record.
- bootrec /fixboot: Rewrites the boot sector.
- bootrec /scanos: Scans for Windows installations not currently in the BCD.
- bootrec /rebuildbcd: Rebuilds the BCD. If prompted to add a detected Windows installation, press Y.
When done, type exit to close Command Prompt and restart.
Inspect boot entries with bcdedit
If rebuildbcd reports an error like "The requested element does not exist," the BCD may be completely empty. Use bcdedit to inspect the current boot entries.
bcdedit /enum allCheck that entries for Windows Boot Manager and Windows Boot Loader are present. If they are missing, the BCD needs to be rebuilt from scratch.
bcdedit /createstore C:\boot\bcd
bcdedit /create {bootmgr} /d "Windows Boot Manager"
The remaining steps vary by environment. If you can't complete them from Command Prompt or errors keep piling up, consider a clean install using a USB installer.
When you get "Access is denied"
Running bootrec /fixboot in a UEFI environment sometimes returns "Access is denied" because write access to the EFI system partition is blocked. Use this command as an alternative:
bootsect /nt60 sys /force /mbrIf that still fails, assign a drive letter to the EFI partition and retry:
diskpart
list vol
select vol X   (replace X with the EFI partition number)
assign letter=Z
exit
Z:
cd EFI\Microsoft\Boot
bootrec /fixboot
Disk and System File Checks
Repair disk errors with chkdsk
When file system errors or bad sectors on the drive are preventing boot, run chkdsk from WinRE's Command Prompt.
chkdsk c: /f /r- /f: Fix detected errors.
- /r: Locate bad sectors and recover readable data.
In WinRE, the Windows drive may be assigned a different letter than C:. Run dir c: or dir d: to confirm which letter contains the Windows folder before running the command. The scan can take anywhere from several minutes to a few hours.
Repair system files with sfc / DISM
For corrupted Windows system files, use sfc (System File Checker) and DISM. Run DISM first to prepare the repair image, then run SFC.
DISM /Online /Cleanup-Image /RestoreHealth
sfc /scannow
From WinRE's Command Prompt, offline mode may be required:
DISM /Image:C:\ /Cleanup-Image /RestoreHealth /Source:C:\Windows
sfc /scannow /offbootdir=C:\ /offwindir=C:\Windows
Combined, these two commands typically take 20–40 minutes to complete.
Recurring Blue Screen of Death
When a BSOD keeps recurring and prevents booting, the error code is your diagnostic entry point. Common codes and their remedies are listed below.
| Error code | Common cause | Fix |
|---|---|---|
| INACCESSIBLE_BOOT_DEVICE | Storage driver issue / drive not detected | bootrec repair / driver rollback |
| CRITICAL_PROCESS_DIED | Critical system process terminated unexpectedly | SFC/DISM / System Restore |
| NTFS_FILE_SYSTEM | File system corruption | chkdsk /f /r |
| DRIVER_IRQL_NOT_LESS_OR_EQUAL | Driver bug | Boot Safe Mode and roll back the driver |
| PAGE_FAULT_IN_NONPAGED_AREA | Memory / driver issue | Run Memory Diagnostic / check drivers |
For a full breakdown of BSOD error codes and recovery steps, see How to Fix the Windows Blue Screen of Death | Stop Codes and Recovery Steps.
Last Resort: Reset This PC or Clean Install
If nothing above has worked, reinstalling Windows is the reliable solution. Start with the option that preserves your data.
Reset while keeping personal files
From WinRE → Troubleshoot → Reset this PC.
- "Keep my files": Files in user folders (Desktop, Documents, Downloads, etc.) are preserved. Apps, settings, and drivers are removed and will need to be reinstalled.
- "Remove everything": Wipes the entire C: drive. Use this when selling or disposing of the PC.
If you can't reach WinRE, the same options are available when booting from a USB installer.
In-place reinstall from a USB installer
On another PC, use Microsoft's official Media Creation Tool to create a USB installation drive, then boot from it and run "Install Windows." During setup, choose "Upgrade: Install Windows and keep files, settings, and apps" to reinstall without losing your data.
- On another PC, download the Media Creation Tool from the official Microsoft site.
- Create a bootable USB drive using a USB stick with at least 8 GB of storage.
- In BIOS, set the USB drive first in the Boot Order and restart.
- Select "Install now" → "Upgrade".
Clean install
If the in-place reinstall doesn't help, or you want a completely fresh start, do a clean install. In the setup wizard choose "Custom: Install Windows only (advanced)", format the C: drive partition, and install from scratch.
Before doing a clean install, confirm the following:
- Important files are backed up to external storage.
- You have your Microsoft account email address and password.
- Your Windows license is linked to your Microsoft account (it will be reactivated automatically).
- You have license keys and download links for any paid apps.
If you ever need to force-shut down the PC during this process, see How to Force Shutdown or Restart Windows | What to Try Before Holding the Power Button.
Summary: Ordered Checklist
Here are all the steps in recommended order. For general Windows troubleshooting across other symptoms, see Windows Troubleshooting Guide | Solutions by Symptom.
- Identify the failure pattern (freezes at logo / spinning animation / Automatic Repair loop / recurring BSOD).
- Unplug all USB drives and external storage, then reboot.
- On a laptop, hold the power button for 30 seconds to discharge.
- Enter BIOS and confirm the Boot Order has the internal drive first.
- In BIOS, verify the drive is detected and check Secure Boot settings.
- Force three shutdowns to enter WinRE, then run Startup Repair.
- Boot into Safe Mode from WinRE to isolate the cause.
- Try System Restore or Uninstall Updates from WinRE.
- From WinRE Command Prompt, run bootrec (/fixmbr → /fixboot → /scanos → /rebuildbcd).
- Run chkdsk c: /f /r to repair disk errors.
- Run DISM → sfc /scannow to repair system files.
- As a last resort, use Reset This PC or perform an in-place or clean Windows install.
Most cases are resolved at steps 6–8. Proceeding to Boot Loader repair (step 9) is typically only necessary when the Automatic Repair loop persists. Work through the list top to bottom, matching each step to your observed symptom.