Google Forms is a free survey, application, and quiz building tool that lets anyone with a Google account create and share a form instantly from a browser. This guide walks through every core feature: creating forms, choosing the right question types, customizing the design, sharing and limiting responses, aggregating results, integrating with Google Sheets, and using the auto-graded quiz mode. For a broader look at Google Workspace, see the Google Keep Complete Guide as well.
Table of Contents
- What You Can Do With Google Forms
- How to Create a Form
- Question Types and How to Use Them
- Design and Customization
- Publishing, Sharing, and Controlling Responses
- Aggregating and Analyzing Responses
- Google Sheets Integration
- Quiz Mode and Auto-Grading
- Notifications, Response Limits, and Conditional Branching
- Common Issues and Fixes
- Summary: Five Things to Master First
What You Can Do With Google Forms
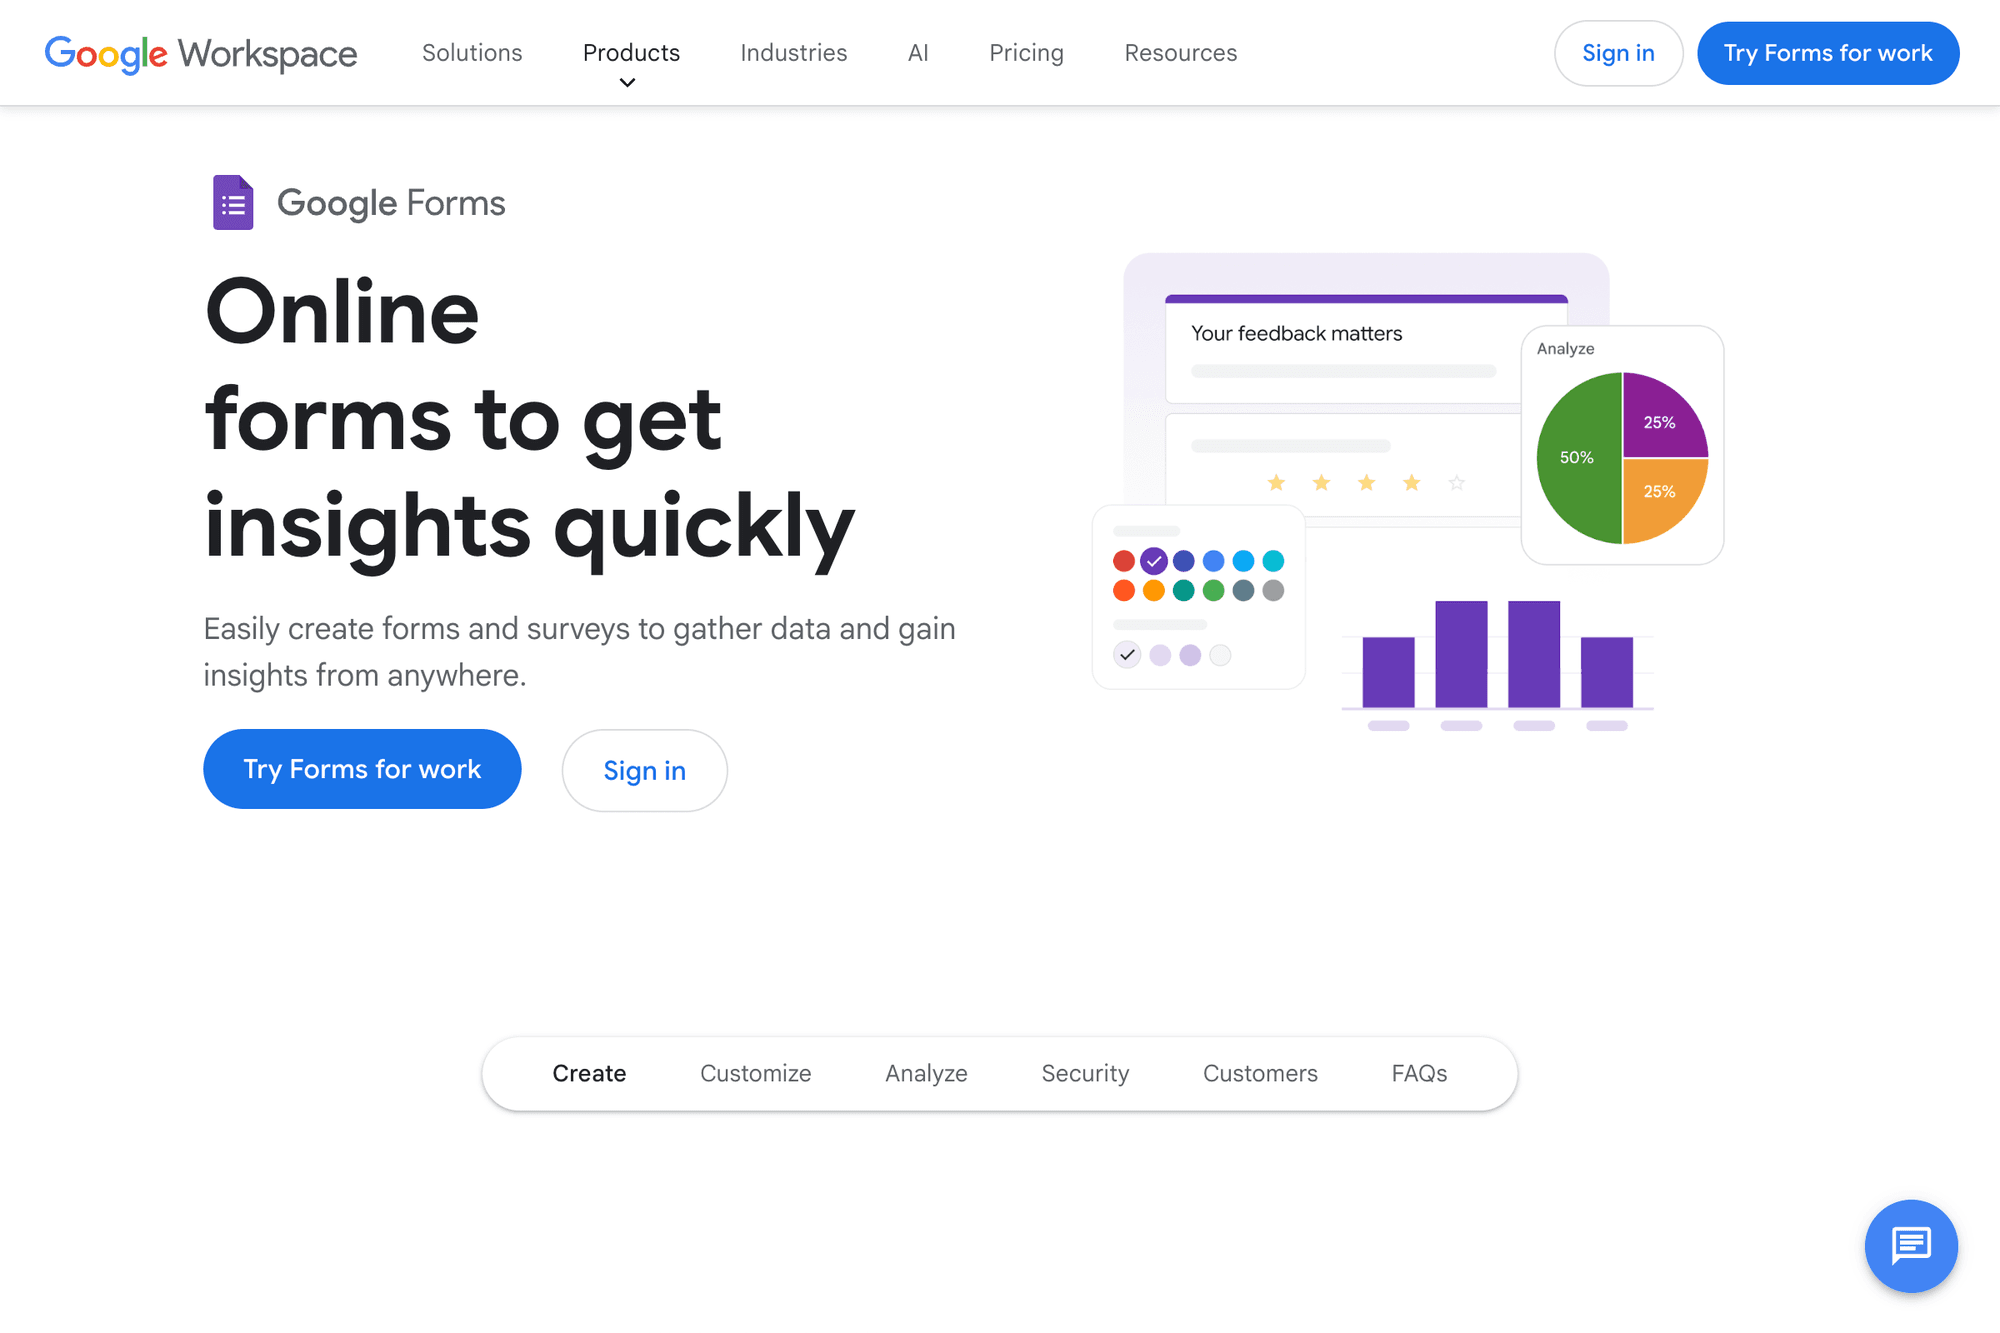
Google Forms is a service that lets you build "tools for collecting information from people"—surveys, applications, contact forms, quizzes—entirely in the browser. Responses are aggregated in real time and automatically transcribed into a spreadsheet, so you never need to build a tally sheet in Excel. That's the single biggest advantage.
Four Main Use Cases: Surveys, Applications, Contact Forms, and Quizzes
The four headline use cases are internal surveys, event registrations, contact forms, and employee training quizzes. RSVPs for weddings and funerals, attendance for clubs, gathering opinions in apartment-association meetings, store feedback collection—the use cases are essentially unlimited. Embed a form on your website and it works as a public contact form, no need to run your own server.
Pricing and Eligibility (Free vs. Paid)
A defining feature of Google Forms is that the free Google account version includes every feature. There is no cap on responses, and the gap to Google Workspace paid plans is minor. Workspace adds organization-only sharing, automatic insertion of company logos, and centralized administrator policies, but for individuals or small groups, the free version is more than enough.
Comparing With Microsoft Forms and Typeform
Microsoft Forms ships with Microsoft 365 and integrates strongly with Excel. Typeform is known for its conversational one-question-per-screen UI that drives higher completion rates. The strengths of Google Forms are simplicity, native Sheets integration, and unlimited free use, which makes it a de facto standard for internal use and small-to-mid-size surveys.
How to Create a Form
There are three ways to create a Google Form: directly in the browser, from a template, or via Google Drive. Any of them produces a blank form within seconds, ready for you to start adding questions.
Starting From Scratch at forms.google.com
Visit forms.google.com in your browser, sign in with your Google account, and click Blank at the top. A new form titled "Untitled form" opens. Enter a title and description, click "Untitled Question" to edit your first question, and you're under way.
Using the Template Gallery
Open the Template gallery at the top of forms.google.com to see more than 20 templates: contact information, RSVPs, event registration, party invitations, application forms, course evaluations, customer surveys, and contact-us forms. The fields are pre-built—just rewrite the wording and you have a ready-to-use form.
Creating From Google Drive
Open drive.google.com, click New in the top left, then More, then Google Forms. You can create a form inside any folder, which is useful when you want to organize forms by project. The form is automatically saved in that folder.
Question Types and How to Use Them
Google Forms offers eleven question types. You can switch between them via the + button next to a question or the dropdown in the question edit panel.
The Three Basics: Short Answer, Paragraph, and Multiple Choice
The three you will use most often are Short answer, Paragraph, and Multiple choice (radio buttons). Names and email addresses go in Short answer, comments and feedback in Paragraph, and gender or age range in Multiple choice. Short answer fields can enforce regular-expression validation, so you can require numbers only, email format, and other input rules.
Checkboxes, Dropdown, and Linear Scale
Checkboxes allow multiple selection, Dropdown keeps long option lists compact, and Linear scale is ideal for satisfaction ratings on a 1–5 scale. Multiple-choice grid lets you ask the same set of options across multiple items, which is the standard "matrix-style" survey question.
Date, Time, and File Upload
Date and Time are perfect for scheduling and RSVPs. File upload saves uploaded files directly to Google Drive, which is convenient for collecting resumes or images. Note that file upload requires the respondent to be signed in to a Google account.
Design and Customization
The design controls in Google Forms are limited, but adjusting just three things—theme color, font, and header image—dramatically changes the look. Open the palette icon at the top right (Customize theme) to access them.
Changing Theme Color and Font
Customize theme lets you choose theme color, background color, and font. About ten preset colors are available, plus a free color picker. Fonts are grouped into four categories: Basic, Decorative, Formal, and Playful. Pick Basic for forms embedded on a corporate site and Playful for forms aimed at children.
Setting a Header Image
The Choose image option at the top of Customize theme lets you set a theme image by upload, by Google Photos, or by URL. Google's stock image library is rich, with seasonal and event-themed headers. When uploading, a width of at least 800 px is recommended. Lower-resolution images get stretched and look rough.
Section Breaks and Progress Bar
When you have many questions, split them across multiple pages with section breaks. Use the Add section icon on the right side of the question edit panel to split. In Settings → Presentation, turn on the Show progress bar option so respondents can see "how many pages are left," which reduces drop-off.
Publishing, Sharing, and Controlling Responses
Once your form is ready, click the Send button at the top right and pick a sharing method. There are four: link, email, embed, and social media—choose based on the use case.
Sharing by Link, Email, or Embed Code
Click Send and pick one of four icons (email, link, embed, social). The Link option copies a URL you can share via messaging apps or Slack. Check Shorten URL to get a forms.gle short link. Embed generates an iframe tag for pasting into a website.
Limiting Responses to One Per Person
In Settings → Responses, turn on Collect email addresses to automatically record each respondent's Google account email. Turn on Limit to 1 response to block additional submissions from the same account. Both options are strongly recommended for internal surveys and RSVPs.
Closing and Reopening the Form
To stop accepting responses, switch off the Accepting responses toggle at the top of the Responses tab. You can edit the closing message, so adding "The deadline has passed" is a nice touch. Reopen by toggling it back on—past responses are preserved.
Aggregating and Analyzing Responses
When responses start coming in, check them in the Responses tab. Three views are available—Summary, Question, and Individual—and you switch between them based on the task.
Summary, Question, and Individual Views
The Summary view shows a top-level rollup (total response count plus a chart per question). The Question view shows responses grouped by question, useful when reviewing one question at a time. The Individual view shows every answer from a single respondent, ideal when you need to see who answered what.
Charts and Real-Time Response Counts
Multiple-choice, checkbox, and linear-scale questions automatically render as pie or bar charts. The response count updates in real time as new submissions arrive, with no need to reload. You can copy a chart as an image and paste it into slides, which speeds up reporting work.
CSV Download and Printing
The three-dot menu at the top right of the Responses tab includes Download responses (.csv), which exports every response in CSV form for deeper analysis in Excel. Print all responses generates a paper-friendly version, but be careful—a high response count produces an enormous number of pages.
Google Sheets Integration
The single biggest strength of Google Forms is its automatic integration with Google Sheets. The moment a response arrives, a row is added to the linked spreadsheet, so real-time aggregation and formula-based processing simply work.
Linking to a Response Spreadsheet
In the Responses tab, click Link to Sheets (the green icon), then choose Create a new spreadsheet or Select existing spreadsheet. Creating new produces a spreadsheet with the same name as the form, saved in Google Drive, with responses auto-transcribed into the "Form Responses 1" sheet.
Processing Data on the Sheets Side
When you need to transform responses, leave "Form Responses 1" untouched and create another sheet that references it. A formula like =ARRAYFORMULA('Form Responses 1'!A2:A) pulls data into a separate sheet, where you can use IF and TEXT functions for formatting—and your data won't break when you change the form structure.
Using Looker Studio and Pivot Tables
The basic approach is to build aggregations with pivot tables on the spreadsheet side. For more advanced visualization, use Looker Studio (formerly Google Data Studio) to build dashboards. Set the spreadsheet as the data source and you can have a self-updating dashboard wired up in about ten minutes.
Quiz Mode and Auto-Grading
Google Forms includes an auto-grading feature that turns it into a lightweight platform for quizzes, short tests, and e-learning. It is widely used in tutoring schools, internal training, and study groups for certifications.
Switching to Quiz Mode
Open the Settings tab and switch on the Make this a quiz toggle. Every question now exposes an Answer key button so you can specify correct answers and points. You can also flip a quiz back to a normal form, so changing direction later is easy.
Setting Correct Answers, Points, and Explanations
In the edit mode of each question, click Answer key, then check the correct option, set the point value, and enter an explanation. Explanations are particularly valuable for tricky questions—respondents see why they got it wrong on the results screen and learn from the feedback.
Controlling When Respondents See Results
In Settings → Results, choose Release scores: either Immediately after each submission or Later, after manual review. For a quiz competition where everyone answers first and then results are revealed together, pick manual; for self-study, immediate release is better.
Notifications, Response Limits, and Conditional Branching
For business use, you'll often need response notifications, branching logic, and automation, which are handled via the Settings tab, section features, and Apps Script.
Email Notifications for New Responses
In the Responses tab, open the three-dot menu and turn on Get email notifications for new responses. Now every time someone submits, an email arrives in your Gmail. If you've published a contact form and need something more elaborate—like Slack notifications—use Apps Script (covered below).
Section Branching and Jump Conditions
Multiple-choice questions can jump to different sections based on the selected option. Open the three-dot menu in the bottom right of the question edit panel and switch on Go to section based on answer. With this you can build branching scenarios like "people who picked A go to detailed questions, people who picked B skip ahead."
Automating With Apps Script
Open the three-dot menu → Script editor to launch Google Apps Script. Use the onFormSubmit trigger to automate actions like "post to Slack when a response arrives," "auto-reply by email," or "update a spreadsheet conditionally." If you can write JavaScript, you can build it, and external API integration is easy.
Common Issues and Fixes
Below are the typical issues unique to Google Forms and how to resolve them.
Respondents See "Permission Required"
If respondents see "You need permission," the form's audience is likely restricted to your organization. Go to Settings → Responses → Response receipts and security, then turn off Require sign-in with Google account or uncheck Restrict to users in (organization). Now anyone can respond.
Responses Are Not Showing Up in Sheets
The link to the spreadsheet may be broken. In the Responses tab, click the spreadsheet icon and re-confirm the link. Manually deleting or reordering question columns on the spreadsheet side breaks the link, so the rule of thumb is to make changes on the form side, not the spreadsheet side.
Recovering an Accidentally Deleted Form
A deleted form sits in the Google Drive Trash for 30 days. Go to drive.google.com → Trash in the left menu → right-click the form → Restore. After 30 days the form is permanently deleted, so notice the deletion early and restore promptly.
Summary: Five Things to Master First
Google Forms has many features, but just five are enough to build a useful form.
- Start from a blank form or a template (forms.google.com)
- Choose question types based on purpose (Short answer, Paragraph, and Multiple choice cover most cases)
- Turn on "Limit to 1 response" (prevents duplicate submissions)
- Link to Sheets for automatic aggregation (no manual tally work)
- Turn on email notifications for new responses (real-time visibility)
Set those up and you'll cover the bulk of internal surveys, application forms, and quizzes. When you outgrow this and need more advanced automation, the next steps are Apps Script and external integrations like Zapier. For broader Google Workspace use, see the Google Keep Complete Guide as well.