- description: Compare the best free online image compression sites — TinyPNG, Squoosh, iLoveIMG, Compressor.io, Optimizilla, and more. Lossless vs lossy choices, JPEG/PNG/WebP/AVIF support, privacy considerations, and which tool to pick for blogs, web design, and bulk processing.
Heavy image files slow down websites, eat into email attachment limits, and bloat cloud storage. The good news: you no longer need desktop software like Photoshop to shrink them — a handful of free, browser-based image compression sites handle JPEG, PNG, WebP, and even SVG with one drag-and-drop. This guide compares the most reliable services, explains how lossless and lossy compression differ, and helps you pick the right tool for blog posts, marketing creatives, or sensitive client work.
Table of Contents
- Image compression basics worth knowing first
- TinyPNG / TinyJPG
- Squoosh (by Google)
- iLoveIMG / iLovePDF
- Compressor.io
- Optimizilla
- Format-specialist compressors
- Sites focused on WebP and AVIF
- Using compression sites safely
- Summary: which tool to pick
Image compression basics worth knowing first
Image compression has its own vocabulary, and skipping the fundamentals leads to predictable frustration: "the file barely shrank" or "the photo looks blocky now." A quick primer below.
Lossless vs lossy compression
Lossless compression rewrites a file more efficiently without throwing any pixel information away. PNG and GIF optimizers fall into this category, and you can typically expect 5 to 30 percent size reduction. Lossy compression discards detail your eye is unlikely to notice, in exchange for much bigger savings — JPEG is the classic example, with 50 to 80 percent reductions on photographic content. For most web use cases, lossy is the right default.
How JPEG, PNG, and WebP differ
JPEG excels at photographs and gradients, where lossy compression is hardest to spot. PNG is built for sharp edges — text, logos, screenshots — and supports transparency. WebP, developed by Google, is the modern catch-all: it lands roughly 25 to 35 percent smaller than JPEG and about 26 percent smaller than PNG, with full transparency support. If you publish to the web, converting to WebP is usually the single biggest win.
Quality thresholds for the web
Lossy formats let you trade quality against size on a slider. Quality 80 is the practical default for web display — you almost never see the artifacts, and the file lands close to the optimal curve. Push it to 90+ for print or archival, and you can drop to 60 for thumbnails. Faces and text are the first places artifacts show up, so leave a margin of error when those dominate the frame.
TinyPNG / TinyJPG
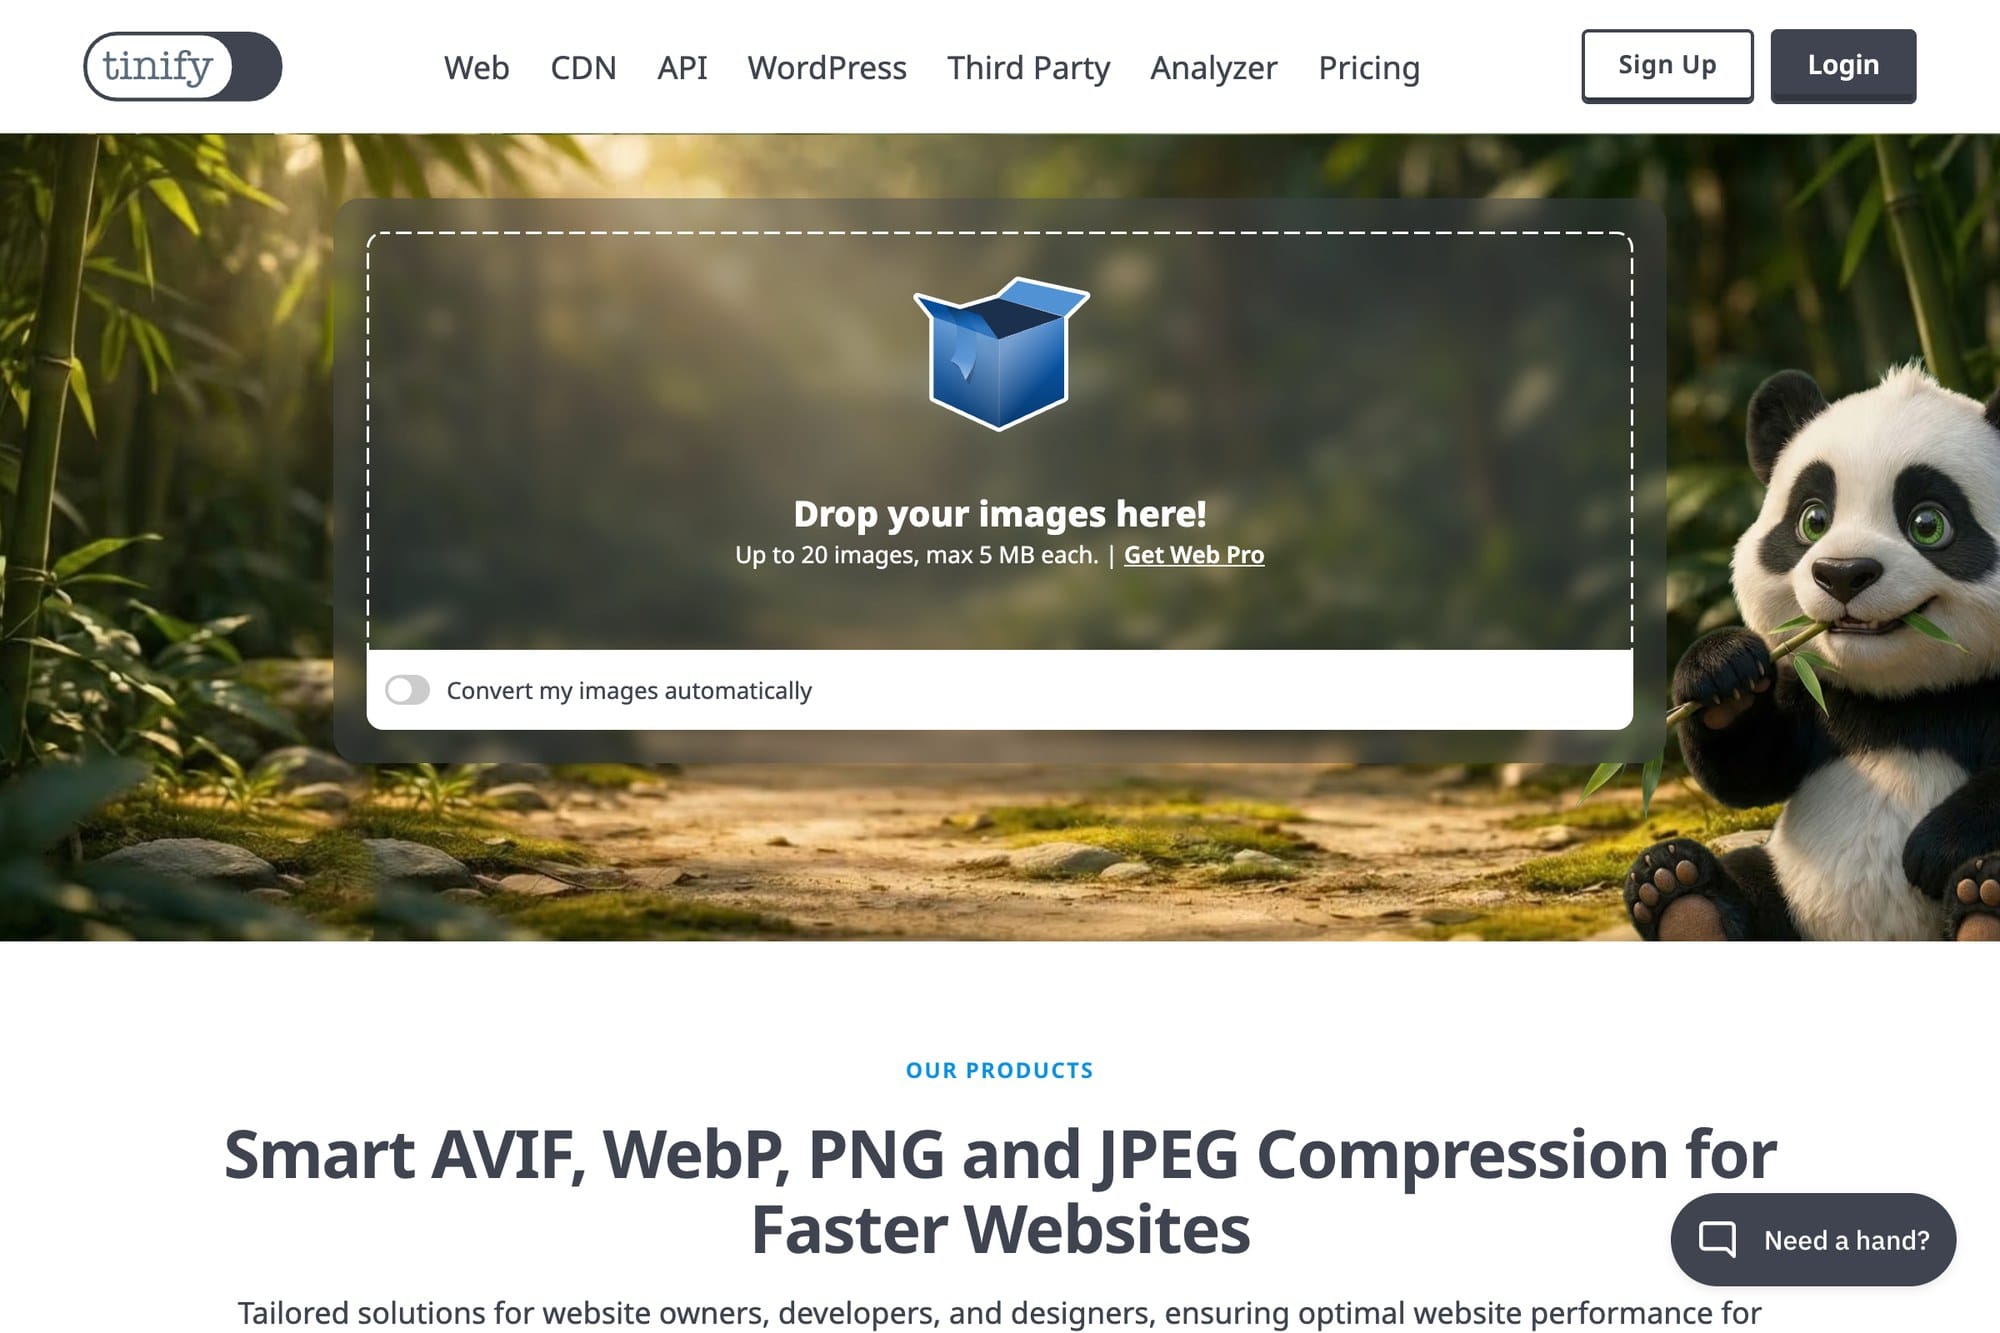
The de-facto default for browser-based compression. Simple, high quality, and free — that's the entire pitch, and it works.
Drag-and-drop bulk compression
Open tinypng.com, drag images onto the page, and compression starts immediately. You can drop several files at once, then download them individually or grab everything in one ZIP via "Download all." Most jobs finish in about five seconds, which is a big part of why the site stuck around as the standard recommendation.
The 20-image, 5MB free-tier limit
The free tier caps you at 20 images per session and 5 MB per file. If you have more, the practical workaround is to refresh the page and start another session, or split the work across browsers. The paid plan ($25/year) lifts the limit to 75 MB per file and unlocks API access for automated pipelines.
Photoshop and WordPress plugins
TinyPNG also ships plugins for Photoshop, WordPress, Magento, and Shopify. The WordPress plugin in particular — listed as "Compress JPEG & PNG images" — is worth installing on any image-heavy blog: it compresses on upload and can sweep through your media library to optimize older files in bulk.
Squoosh (by Google)
A Google-built compression tool aimed at people who want to dial in settings rather than accept a one-size-fits-all default.
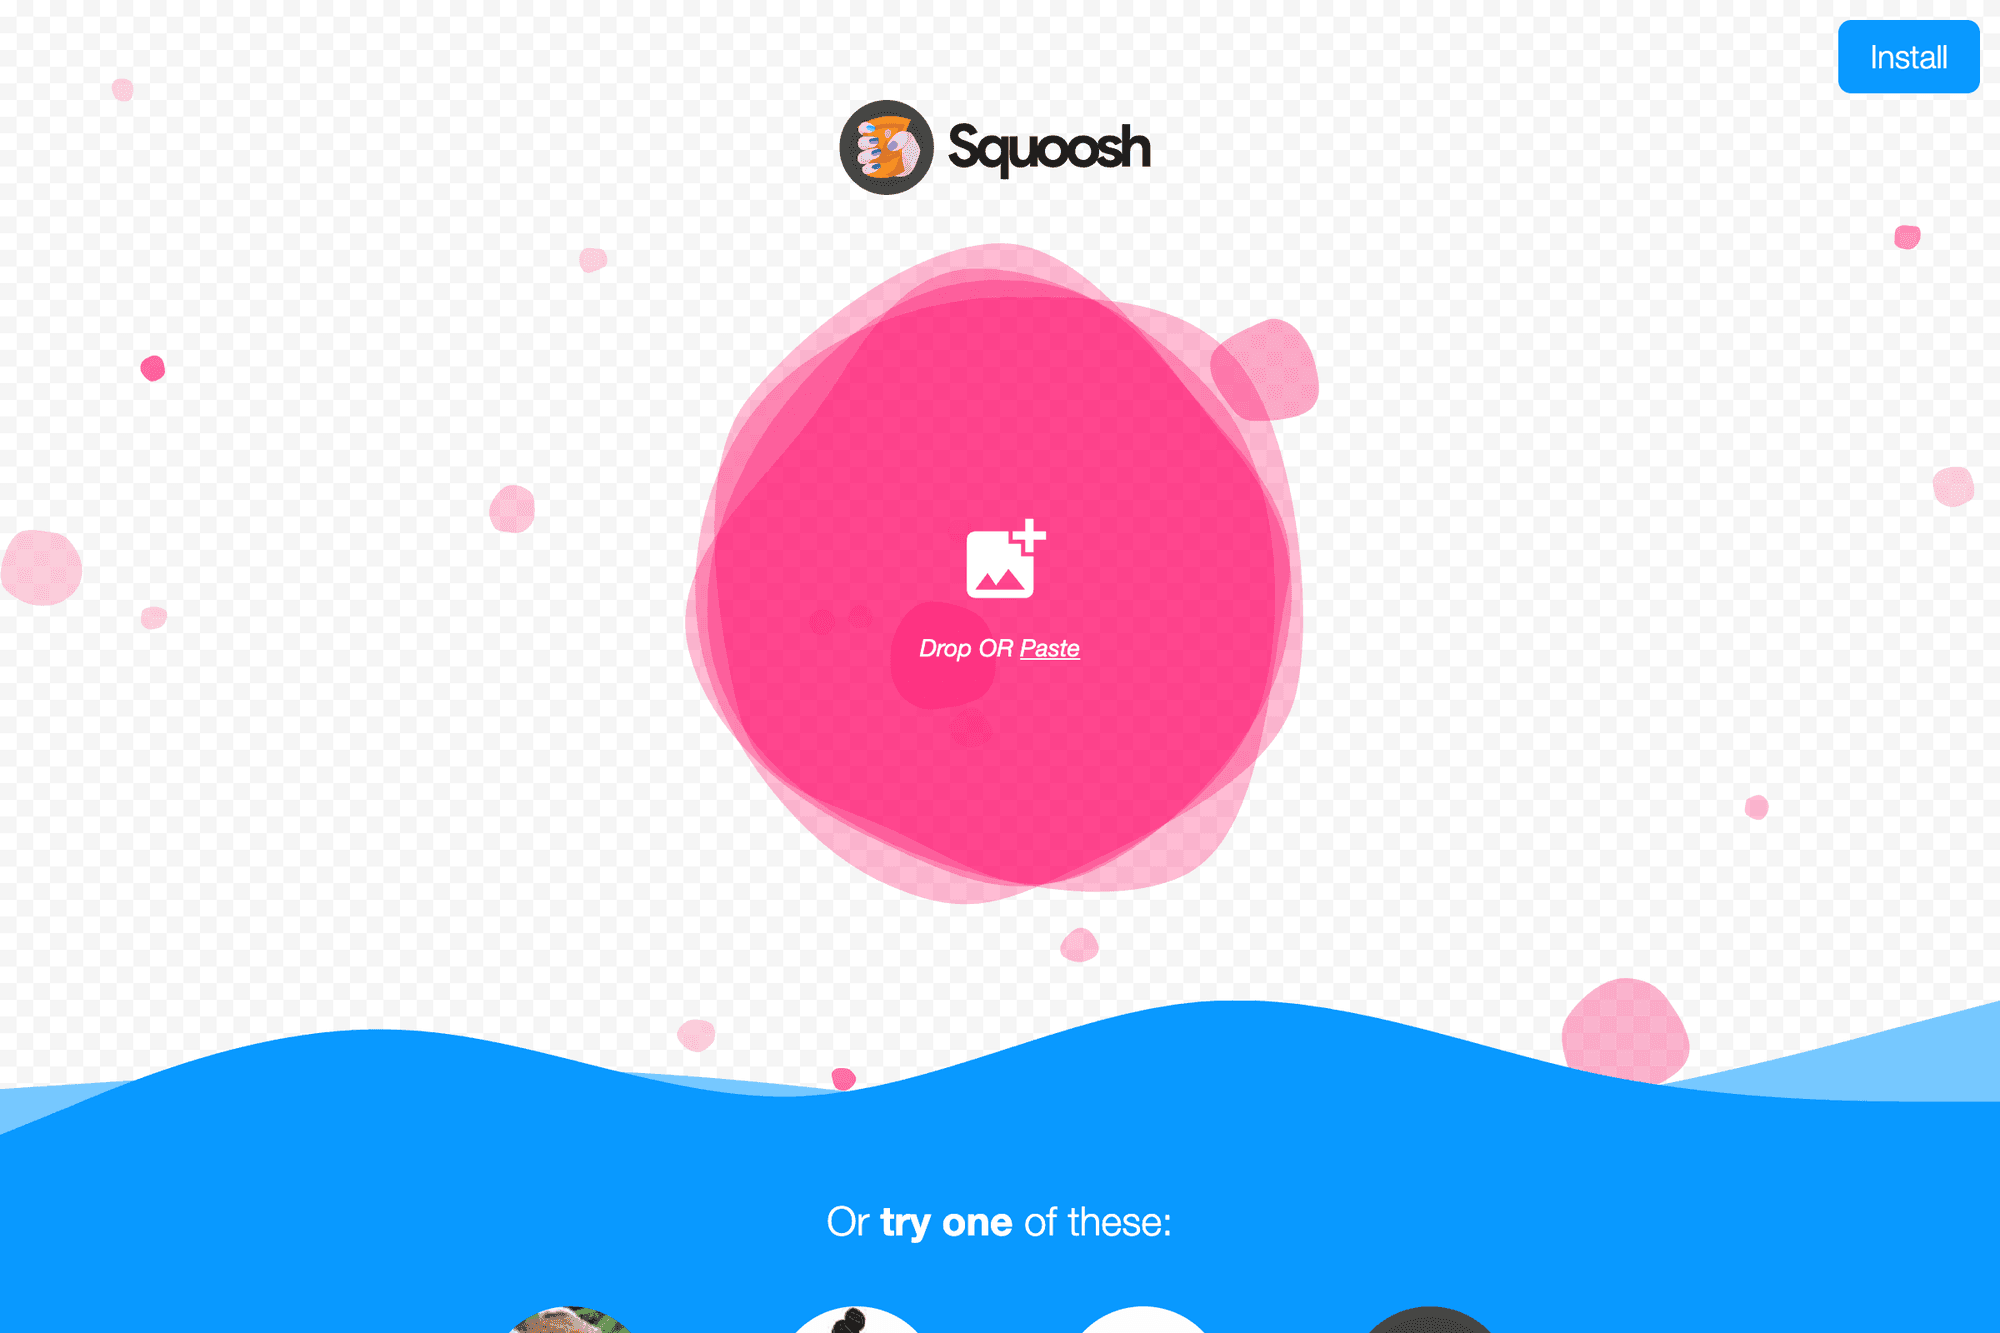
Side-by-side preview for quality control
squoosh.app splits the canvas vertically: original on one side, compressed on the other, with a slider you can drag to compare. This makes it trivial to see the artifact threshold in real time and back off the compression a notch when you spot it. For one-off hero images where quality matters, no other free tool comes close.
WebP, AVIF, and MozJPEG support
Squoosh exposes the modern codec stack — WebP, AVIF, MozJPEG, and OxiPNG — alongside classic JPEG and PNG. WebP is the safe modern default. AVIF compresses even harder but has less universal browser support. MozJPEG stays JPEG-compatible while shaving roughly 20 percent off, useful when you cannot break compatibility with older clients.
Local processing keeps your files private
A defining feature: Squoosh runs entirely in the browser. Nothing is uploaded to a server — JavaScript does the encoding on your machine. That makes it a strong fit for confidential work: client mockups, internal screenshots, anything you'd rather not hand to a third-party API like TinyPNG's cloud.
iLoveIMG / iLovePDF
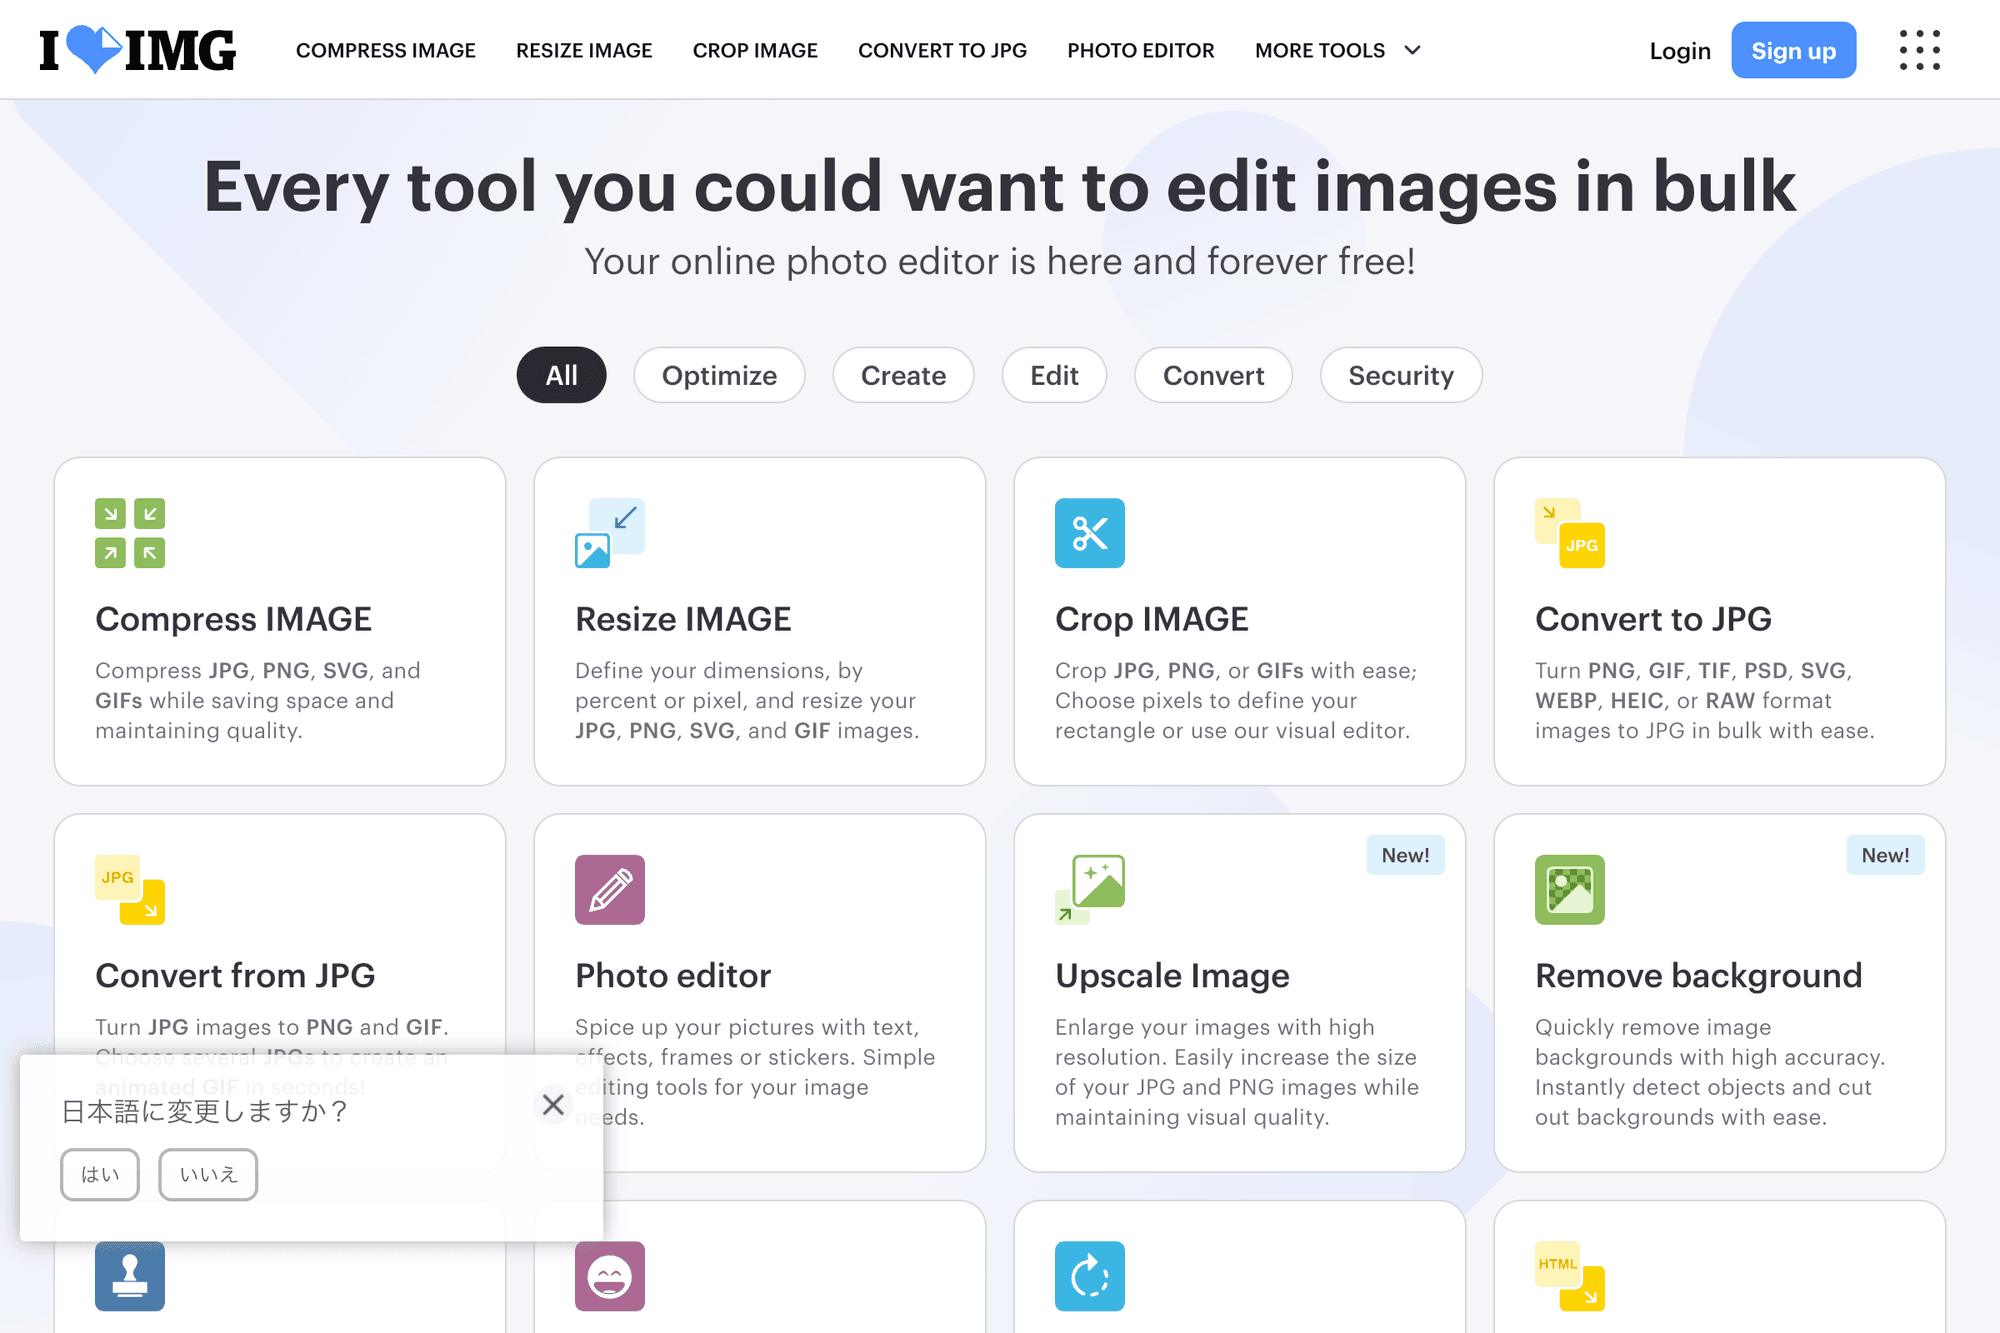
The image-side companion to iLovePDF, with a kitchen-sink set of tools beyond compression: convert, resize, rotate, watermark, and crop.
Compression plus convert, resize, and watermark
iLoveIMG bundles compression, format conversion (JPG/PNG/GIF/HEIC/WEBP), resize, rotate, and watermark in one site. When you need to compress and resize in the same pass, you avoid the usual hop between two tools. HEIC to JPG in particular is a lifesaver for anyone shipping iPhone photos to people on Windows.
Free batch limits and queue speed
The free tier handles up to 20 images at 65 MB each in a batch — a much higher per-file cap than TinyPNG, which makes it usable for large RAW-derived JPEGs straight off a DSLR. Throughput is a touch slower than TinyPNG, but bulk ZIP download is supported.
Premium plans for unlimited usage
A $3 to $7/month premium tier lifts the file count and size limits, adds OCR, and prioritizes your queue. For agencies or content teams pushing dozens of images per day, the cost-per-hour-saved math gets favorable quickly.
Compressor.io
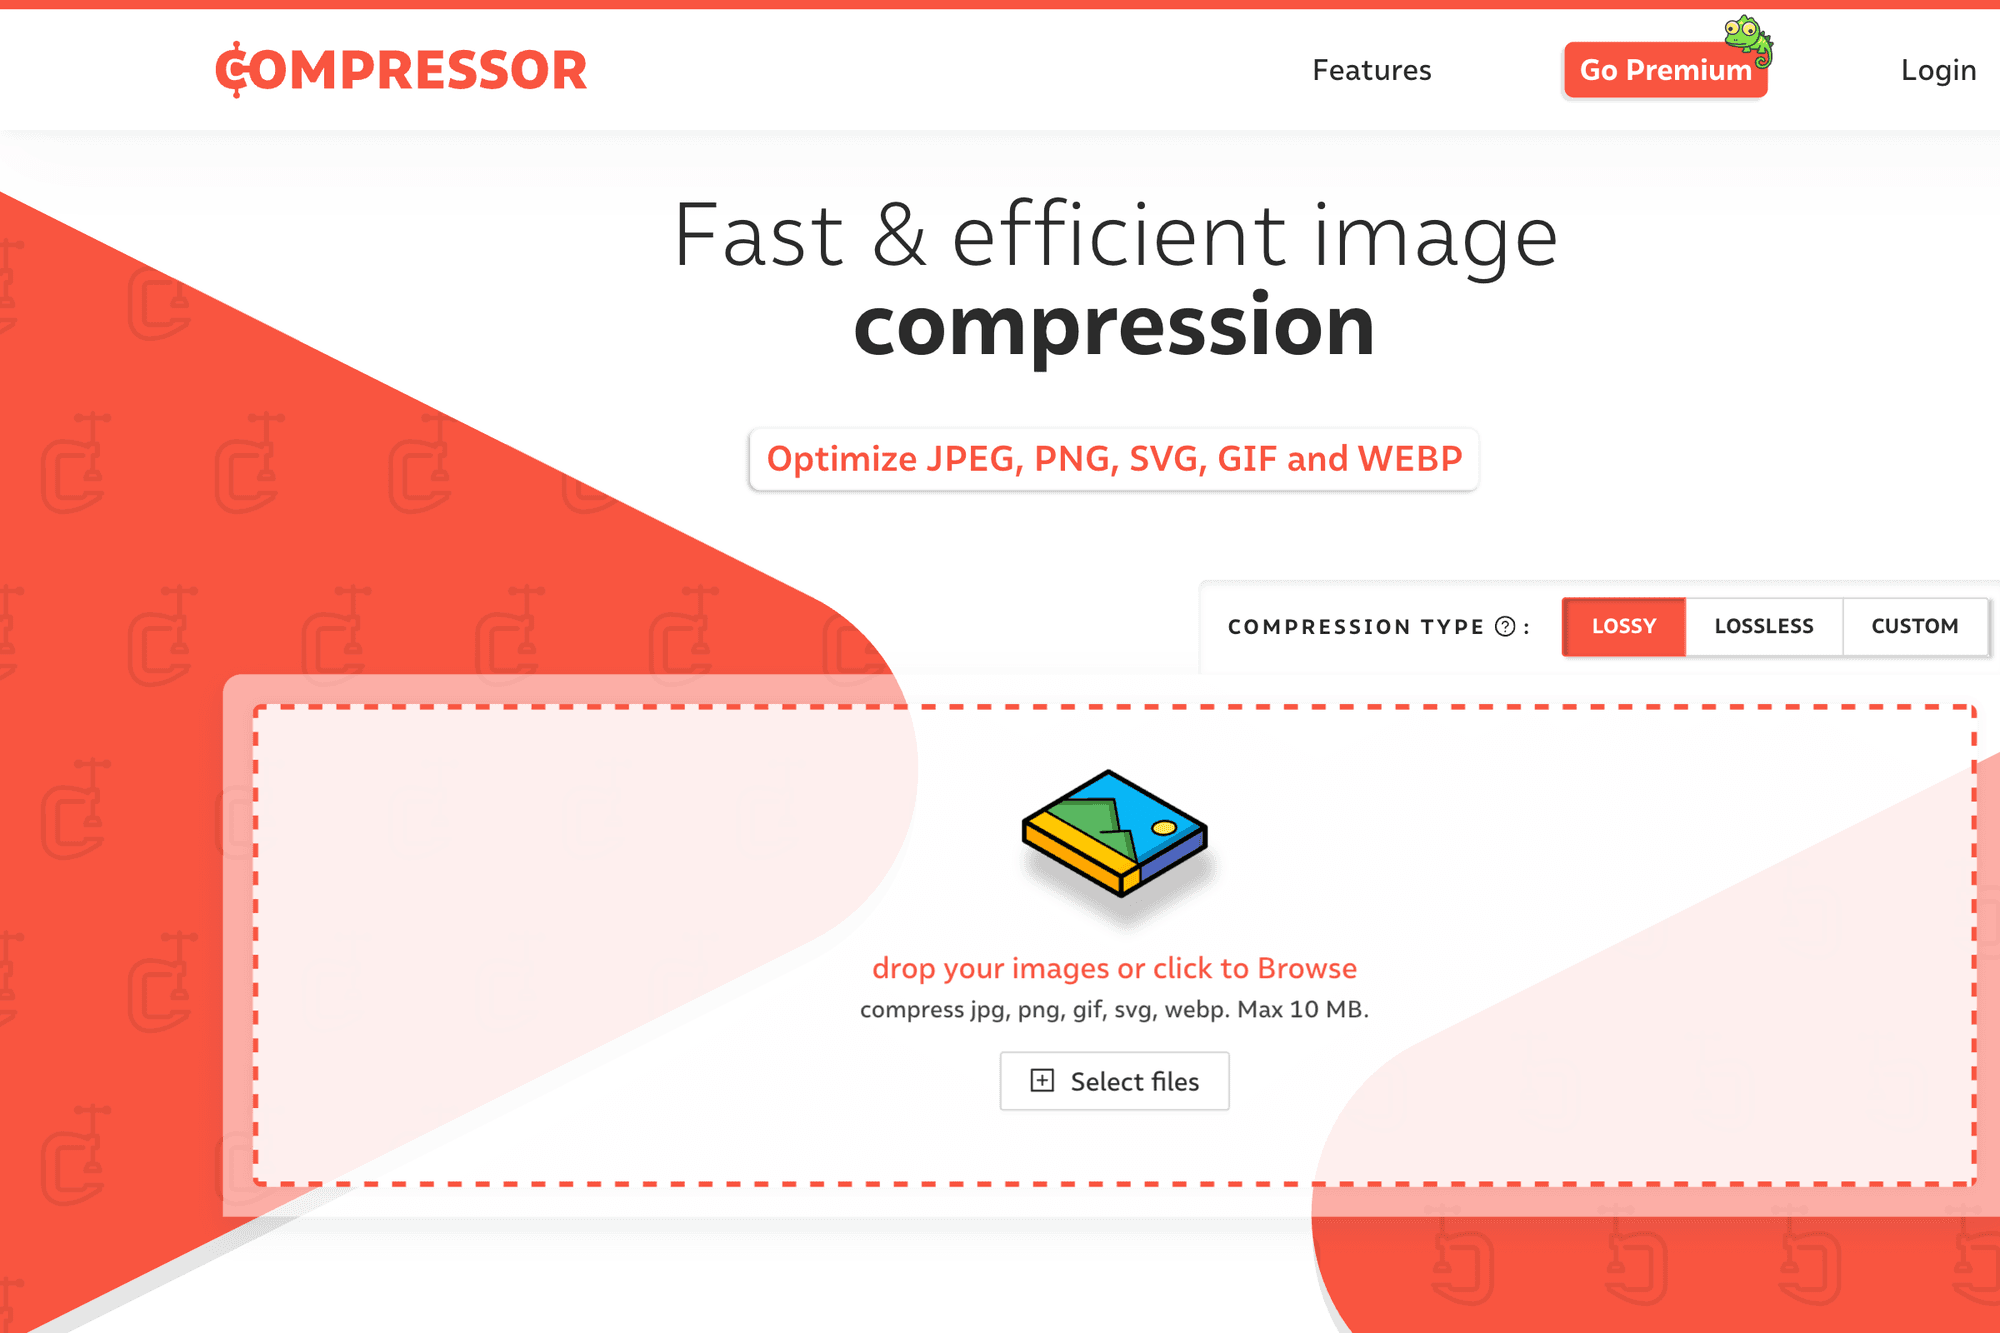
A more deliberate, lossless-or-lossy choice up front — built for users who care about the trade-off rather than just clicking "compress."
Choose lossless or lossy at the start
compressor.io asks you to pick Lossless or Lossy before uploading. Lossless preserves quality at the cost of smaller savings; lossy gets the big numbers. Toggle it per session depending on whether you're optimizing photos or technical screenshots. JPEG, PNG, GIF, SVG, and WebP are all supported.
File size and processing speed
The free tier handles up to 10 MB per file and 15 files at once. Speed is mid-pack — not as fast as TinyPNG, but not slow either — and ZIP bundling is available for the batch.
Wide format support including SVG
The standout among generalists: SVG support. SVGs are text under the hood, so most compressors leave them alone, but Compressor.io strips redundant metadata, whitespace, and comments to bring the file down. Useful when you ship icon sets or interface assets.
Optimizilla
Best when you want fine-grained, per-image control rather than uniform settings across a batch.
Per-image quality slider
After upload, Optimizilla (at imagecompressor.com) shows a thumbnail strip where you can click any image and tune its compression independently. Move the slider, see the preview update — useful when one shot in your batch needs to stay sharp while the rest can be squeezed harder.
Up to 20 simultaneous uploads
You can queue 20 images at a time, with no per-file size cap. The upload itself takes a while for large files, but the server-side parallelization keeps the actual compression wait short. The grid view also gives you the before/after byte counts for every shot at a glance.
Bulk ZIP download
The "Download all" button packages every image into one ZIP. Individual download is still there if you only need a subset — handy when one or two images failed your eyeball test.
Format-specialist compressors
When a generalist isn't squeezing hard enough, format-specific tools sometimes get measurably better results.
JPEGmini for high-quality JPEGs
JPEGmini uses a JPEG-only engine that promises up to 80 percent size reduction while keeping the original perceived quality. It has desktop apps and a Lightroom plugin too, which is why working photographers gravitate to it. The web version offers a free trial slot — full access is paid.
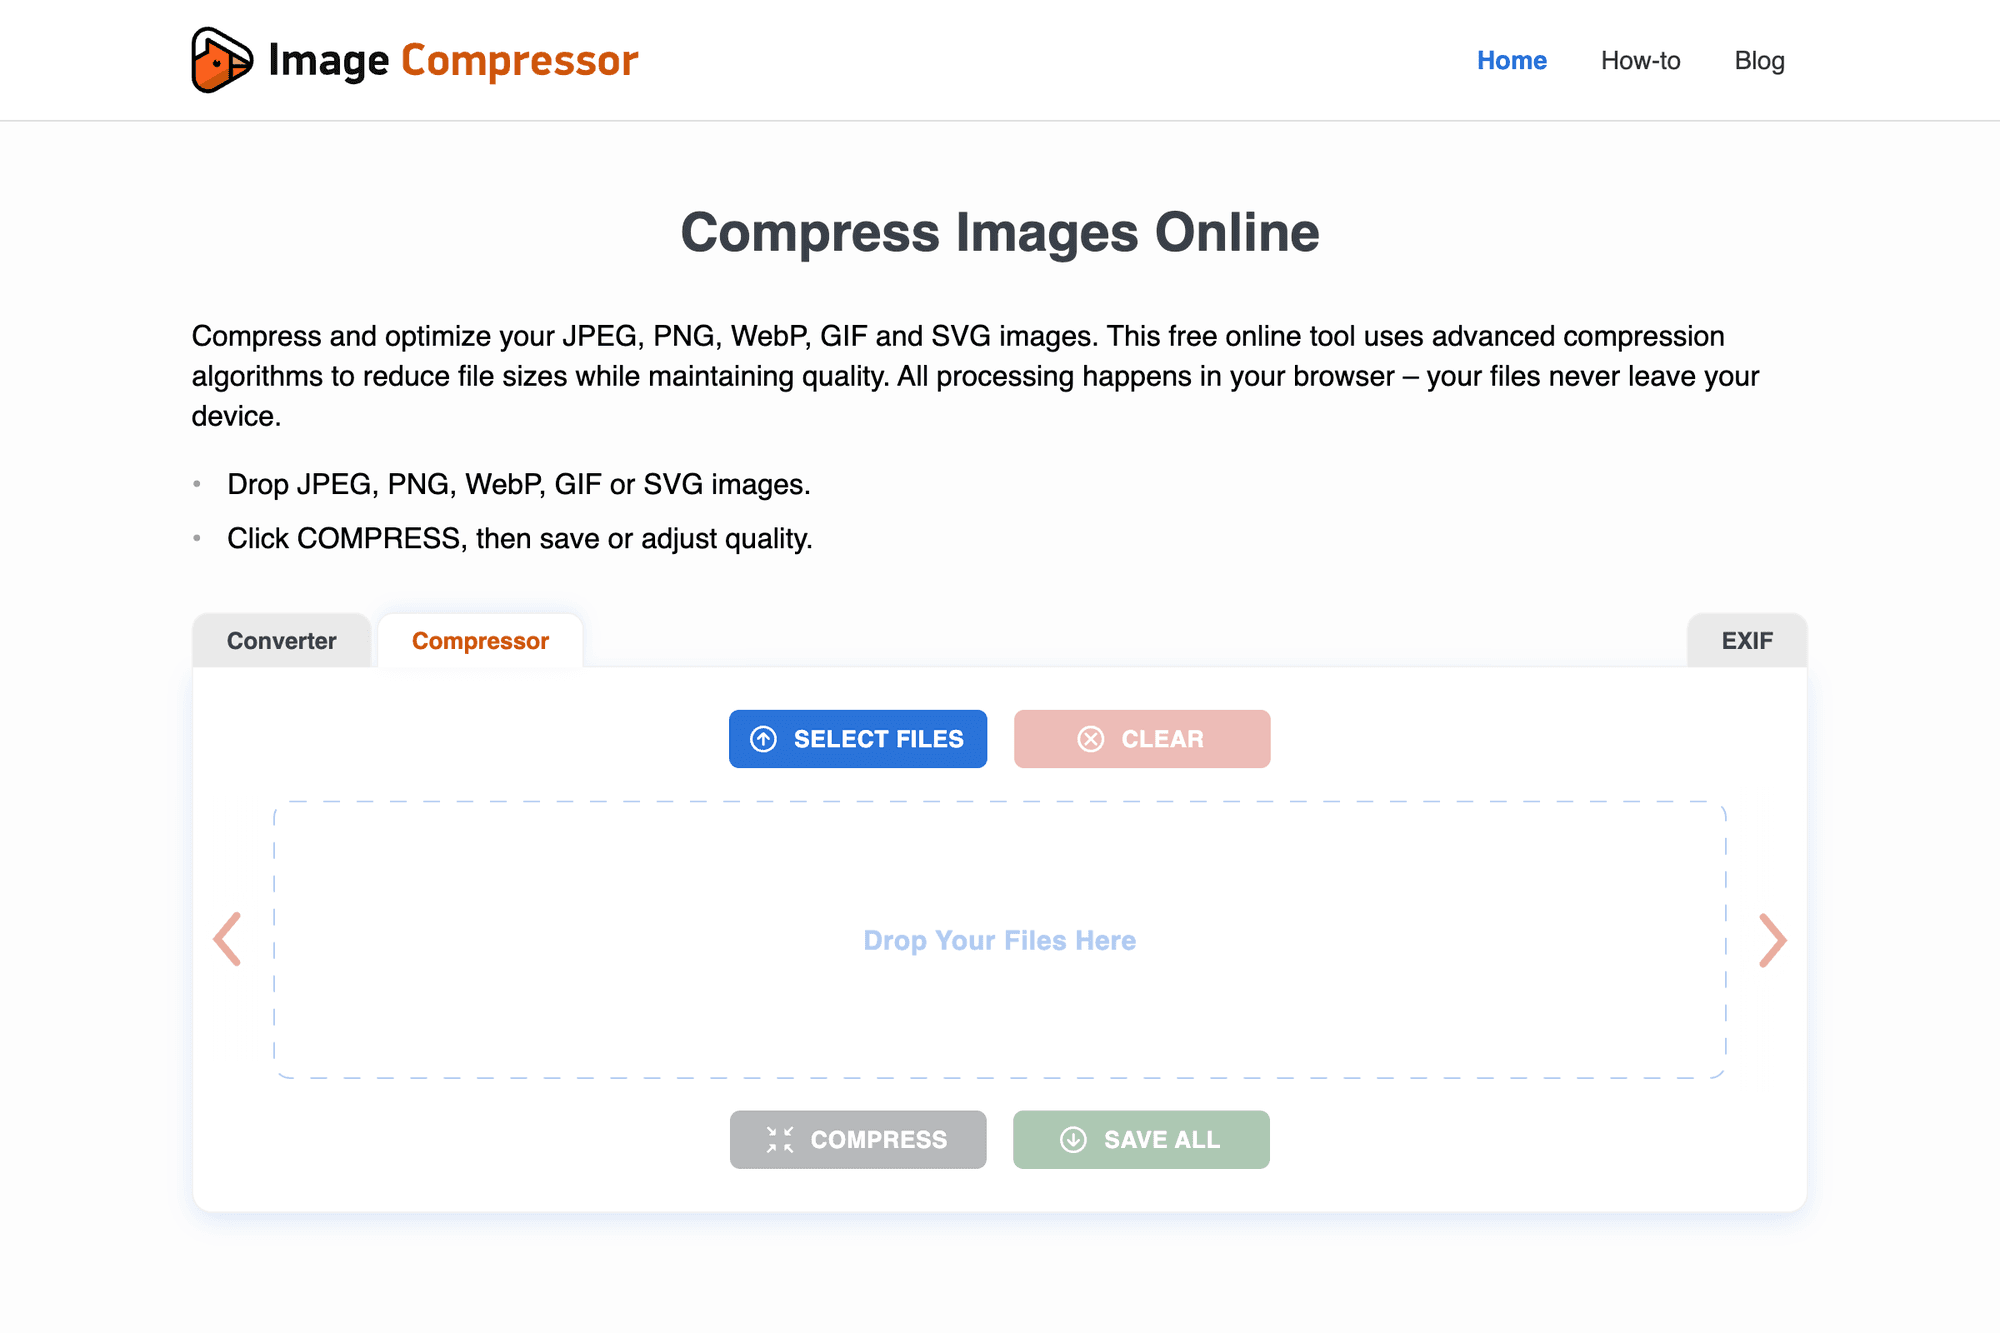
ImageOptim Web for multi-engine PNG output
ImageOptim is best known as a Mac desktop app, but its imageoptim.com/online web version chains MozJPEG, PNGCrush, Gifsicle, and other engines to find the most aggressive viable output. The result is often a few extra percent off compared to single-engine tools, which adds up across a hundred-image library.
Sites focused on WebP and AVIF
If site speed is the real goal, converting to WebP or AVIF beats squeezing JPEG/PNG harder.
Why WebP is worth converting to
WebP is 25 to 35 percent smaller than JPEG and about 26 percent smaller than PNG, and it's been supported in iOS 14+ and every major desktop browser for years. The page-load improvement directly helps Core Web Vitals, which matters for search ranking.
Squoosh and EZGIF.com for WebP output
Squoosh does WebP simply by changing the output format dropdown. EZGIF.com has a dedicated WebP converter that handles JPEG/PNG batches well. On a WordPress site, the EWWW Image Optimizer plugin can convert and serve WebP automatically with no manual workflow.
Moving on to AVIF and browser support
AVIF gets you another 30 percent over WebP, but browser support is narrower — current Chrome, Firefox, and Safari 16+. For production use you generally serve AVIF with a JPEG fallback through the <picture> element, so legacy browsers still see something.
Using compression sites safely
When confidential or personal images are involved, you need to think about where the file actually goes during compression.
Handling private or confidential images
Cloud-based services like TinyPNG and iLoveIMG upload your file to their servers to compress it. For internal documents, unreleased mockups, or anything containing personal data, prefer Squoosh (browser-local) or a desktop app like ImageOptim for Mac or FileOptimizer for Windows. The file never leaves your machine.
Auto-deletion policies you should check
The major services document a deletion window — TinyPNG clears uploads after about one hour, iLoveIMG after two hours, and most others within 24 hours. Read the privacy policy before uploading sensitive material; deletion timing and any third-party sharing language are the two paragraphs that actually matter.
When to choose client-side processing
The case for going client-side (Squoosh, ImageOptim, FileOptimizer) gets stronger when you have confidential content, large batches, or a slow connection. No upload wait, no privacy footprint, and processing scales with your CPU rather than the service's free tier.
Summary: which tool to pick
The lineup is wide, but one or two tools per use case is enough in practice.
- Daily blog and social posts → TinyPNG (fastest, simplest)
- When quality really matters → Squoosh (preview slider, local processing)
- Batch work plus convert/resize → iLoveIMG (multi-tool in one site)
- Confidential or internal → Squoosh or ImageOptim (no upload)
- WordPress site at scale → TinyPNG plugin (auto-compress on upload)
When in doubt, start with TinyPNG. Pivot to Squoosh when privacy or hand-tuning matters, and reach for iLoveIMG when you need more than just compression. That trio covers virtually every image-shrinking job a typical web team or solo blogger runs into.