If you plug in your iPhone and nothing happens — no charging icon, no battery increase, or your MagSafe pad gets no response — you're in the right place. This article covers situations where charging simply doesn't work at all. If your iPhone is charging but just feels slow, that's a different problem caused by different factors. Head over to iPhone Charging Slowly? Fix It Fast | Adapter, Cable, and Port Checklist instead. Here we focus on cases where the charging icon never appears, the battery percentage never budges, MagSafe doesn't respond, or charging stopped working after water exposure. We classify the root causes into three axes — hardware, software, and power source — and walk through fixes in the most effective order. Covers Lightning (iPhone 14 and earlier), USB-C (iPhone 15/16/17), and MagSafe.
Table of Contents
- Distinguishing "Won't Charge at All" from "Charges Slowly"
- Cable and Adapter Diagnosis (Start Here)
- Cleaning the Lightning / USB-C Port
- Restarting and Force Restarting Your iPhone
- Liquid Alert Showing on Screen
- MagSafe and Wireless Charging Problems
- Software and Settings Checks
- Checking Battery Health
- Charging from a Computer
- Completely Unresponsive After Long Storage (Deep Discharge)
- Suspecting Hardware Failure — When to Get a Repair
- Summary: Troubleshooting Checklist in Order
Distinguishing "Won't Charge at All" from "Charges Slowly"
Symptom Patterns
People often lump every charging problem under one umbrella, but symptoms point to very different causes. First, identify which of these matches your iPhone.
- No charging icon appears at all — screen is completely unresponsive: The most common culprits are a faulty cable or adapter, a clogged port, or a deeply discharged battery.
- Charging icon appears but the battery percentage never increases: Usually caused by insufficient adapter wattage or a software glitch.
- Charging icon flickers on and off: A sign of poor port contact or an internally frayed cable.
- MagSafe or Qi wireless pad won't charge, but the cable does: Check for case interference, metal accessories, or a faulty pad.
- Only a specific cable or adapter fails: That cable or adapter is defective or non-MFi-certified.
- "Liquid Detected in Lightning Connector" or "Liquid Detected in USB-C Connector" appears: Moisture in the port. Let it air-dry.
- Charging stops at 80%: Almost always the Optimized Battery Charging feature — not a defect.
If your battery is increasing but just feels slow, this article isn't for you. Insufficient adapter wattage and thermal throttling are the usual causes — see iPhone Charging Slowly? Fix It Fast | Adapter, Cable, and Port Checklist for that scenario.
Three Diagnostic Axes
When charging refuses to work entirely, it helps to think across three axes.
- Power source / accessories: Frayed cable, dead adapter, bad wall outlet.
- iPhone hardware: Clogged or corroded port, deeply discharged battery, water damage to the logic board.
- iPhone software: Temporary OS glitch, intentional restriction (e.g., Optimized Battery Charging).
The most common axis is accessories — swapping the cable alone resolves more than half of all charging complaints. Start there.
Quick-Reference Table by Symptom
| Symptom | Likely Cause | First Thing to Try |
|---|---|---|
| No charging icon at all | Broken cable, clogged port, or deep discharge | Swap the cable; clean the port |
| Charging icon flickers and disappears | Poor port contact or internally broken cable | Clean the port; try a different cable |
| Only MagSafe / Qi won't work | Case interference, metal accessory, or misalignment | Remove the case; remove metal plates |
| Liquid detected alert | Moisture in the port | Air-dry 3+ hours, then charge via MagSafe |
| Charging icon appears but % doesn't rise | Weak adapter or software glitch | Try a 20W+ adapter; restart the iPhone |
| One specific cable fails | That cable is broken or non-MFi | Replace with an MFi-certified cable |
| No response after long storage | Deep discharge (battery fully depleted) | Keep it plugged in for 30+ minutes |
| Stops at 80% | Optimized Battery Charging (normal behavior) | Check Settings; temporarily disable if needed |
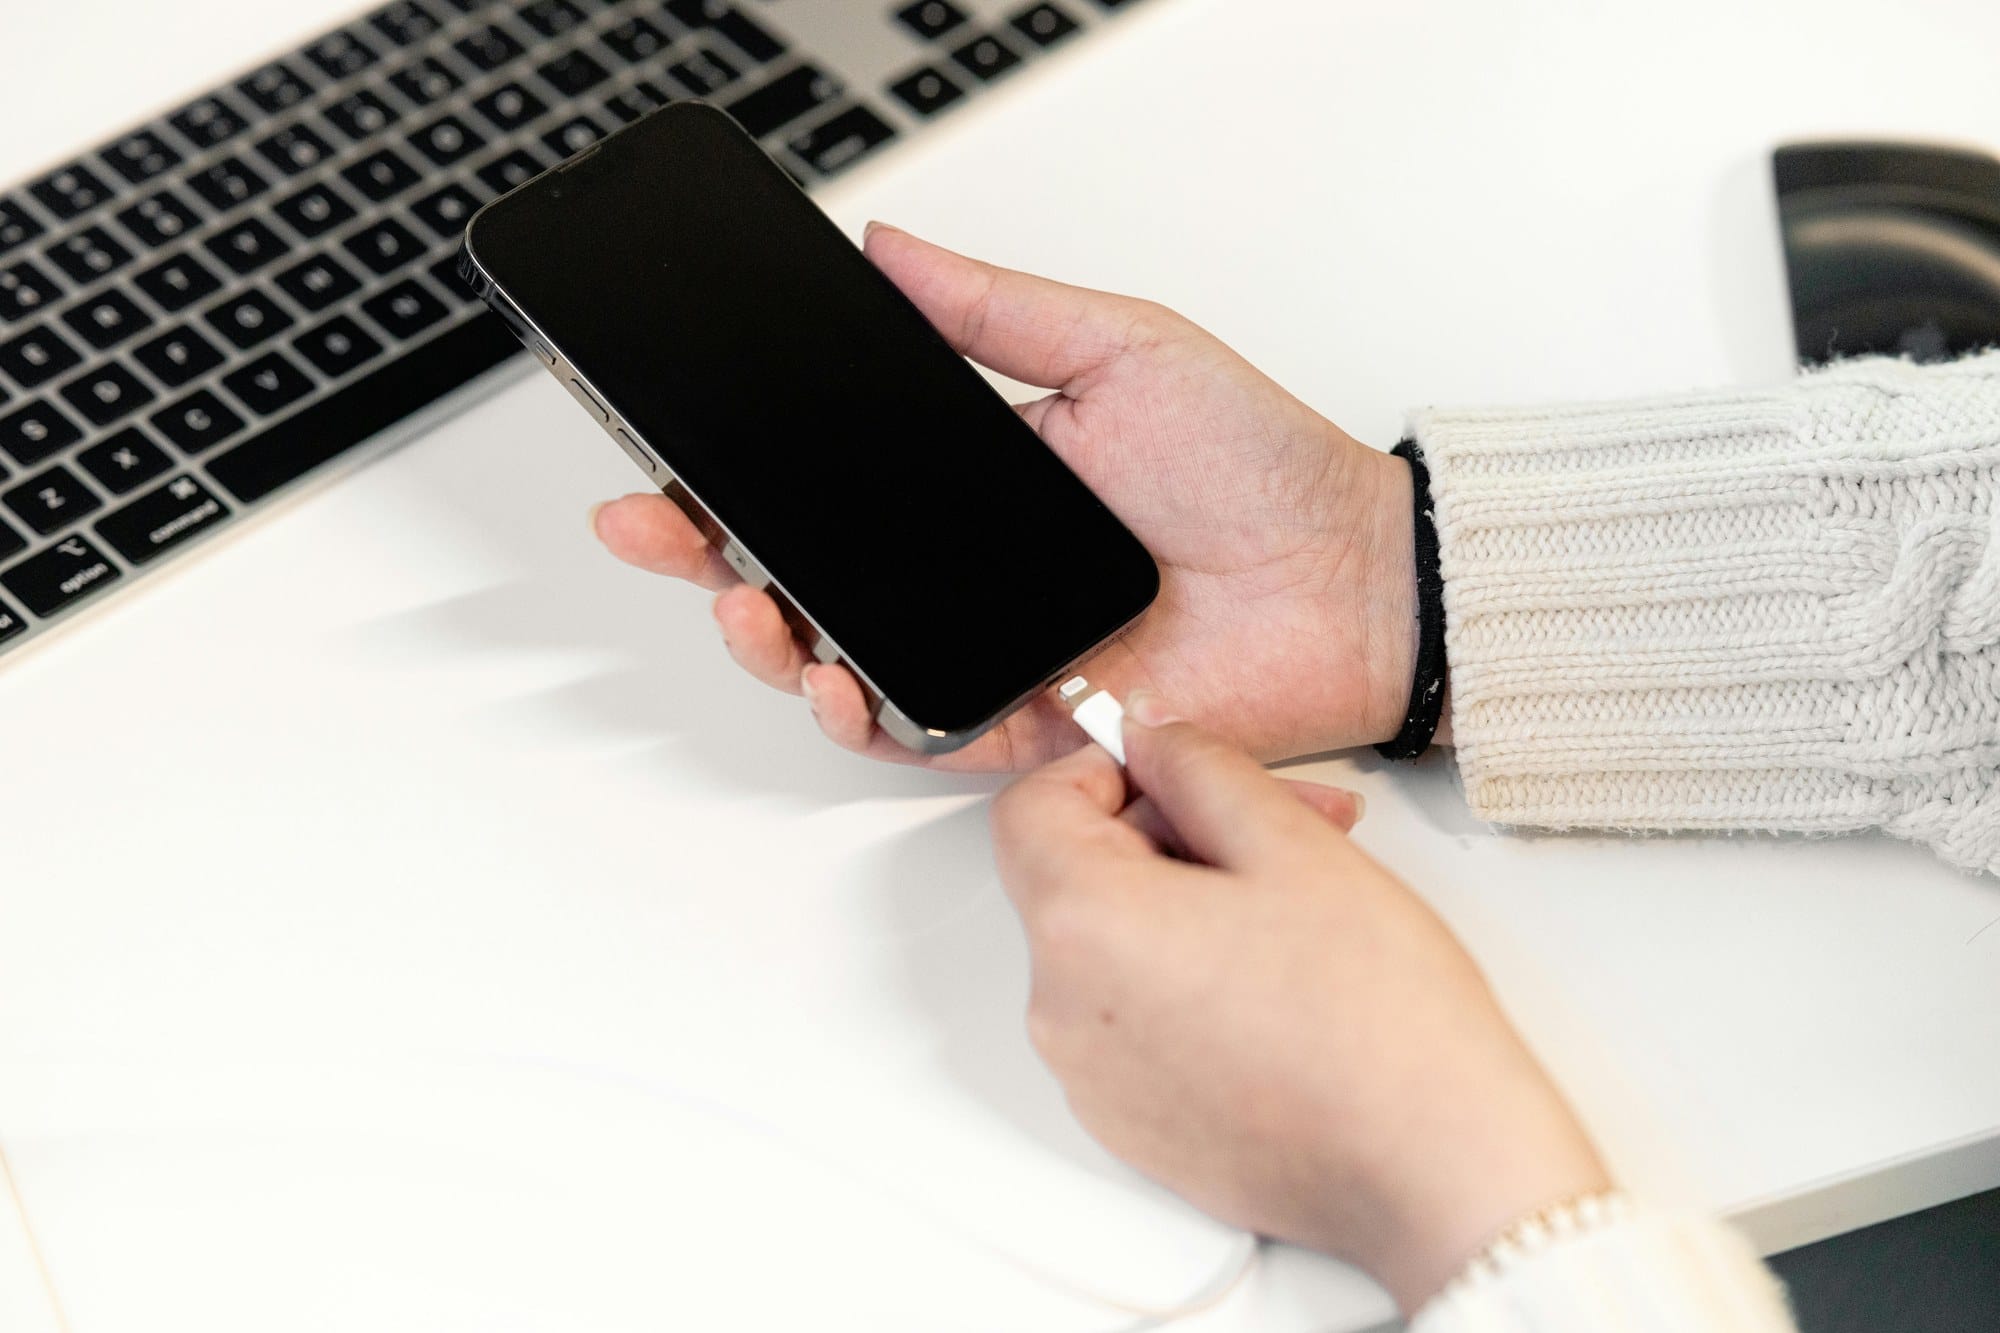
Cable and Adapter Diagnosis (Start Here)
Try a Different Cable
The cable is the first thing to suspect. Internal wire breaks and contact failures creep up gradually without any visible warning, so swap in a different cable before doing anything else.
iPhone connector types differ by model.
- Lightning: All iPhones up to and including iPhone 14 (including all iPhone SE models).
- USB-C: iPhone 15 and all later models (15, 15 Plus, 15 Pro, 15 Pro Max, and beyond).
If the charging icon appears or the battery starts climbing after the swap, your original cable was the culprit — replace it. If you don't have a spare on hand, borrowing one from a friend or family member is enough to confirm the diagnosis.
Try a Different Adapter
If swapping the cable doesn't help, turn your attention to the adapter (the wall charger). Adapters can fail invisibly — output voltage or current can drop without any external sign of damage.
Steps to isolate the adapter:
- Move to a different wall outlet (rules out an outlet problem).
- Connect the iPhone with a different adapter — preferably an Apple original or a PSE-certified MFi-approved unit.
- If the charging icon appears with the new adapter, the original adapter is dead.
If you're using a power strip or an old surge protector, try plugging directly into a wall outlet. Aging power strips can fail to deliver adequate current to the adapter.
Verify MFi Certification (Lightning)
For Lightning cables (iPhone 14 and earlier), non-MFi-certified (Made for iPhone) cables can be actively rejected by iOS. The "This accessory may not be supported" alert is a telltale sign.
How to check:
- Look for an MFi-certified or "Works with Apple" badge on the packaging or the cable itself.
- Inexpensive cables from dollar stores and discount online sellers are frequently non-certified.
- All Apple original Lightning cables are MFi-certified by definition.
Even a cable that worked previously with a non-MFi cable can stop working after an iOS update — Apple periodically tightens MFi enforcement. This is expected behavior, not a bug.
USB-C "Charging" vs. "Data-Only" Cables
iPhone 15 and later use USB-C, which is an open standard. That means data-only USB-C cables — ones that can't carry meaningful charging power — are sold right alongside full-featured ones.
- Charging-capable USB-C cable: Supports USB PD (Power Delivery), passes 5V and 9V charging current without issue.
- Data-only USB-C cable: Delivers only about 5V/0.5A — the charging icon may appear but the battery barely moves.
- Discount USB-C cables: Often sold as "charging only" (no data) or carry vague wattage specs. Verify before trusting them.
If the cable packaging says "USB 2.0," "data transfer only," or omits charging specs, don't use it for charging. Brands like Anker, Belkin, and CIO are reliable choices.
Signs of a Failing Cable
A cable can look fine and still be broken inside. Replace any cable that shows the following.
- Bent, kinked, or cracked insulation at either end: The internal wires are partially or fully broken.
- Charging starts and stops when you shift the cable position: Classic intermittent connection failure.
- The connector or cable body feels unusually hot: Resistance at a break point generates heat — a fire hazard.
- The connector is visibly bent or deformed: Physical damage that can also harm the iPhone port.
Even MFi-certified Apple original cables have a lifespan. With daily use, plan to replace a cable after one to two years. Repeatedly bending the cable sharply near the connector shortens that lifespan significantly. Stop using any cable that shows the above signs immediately.
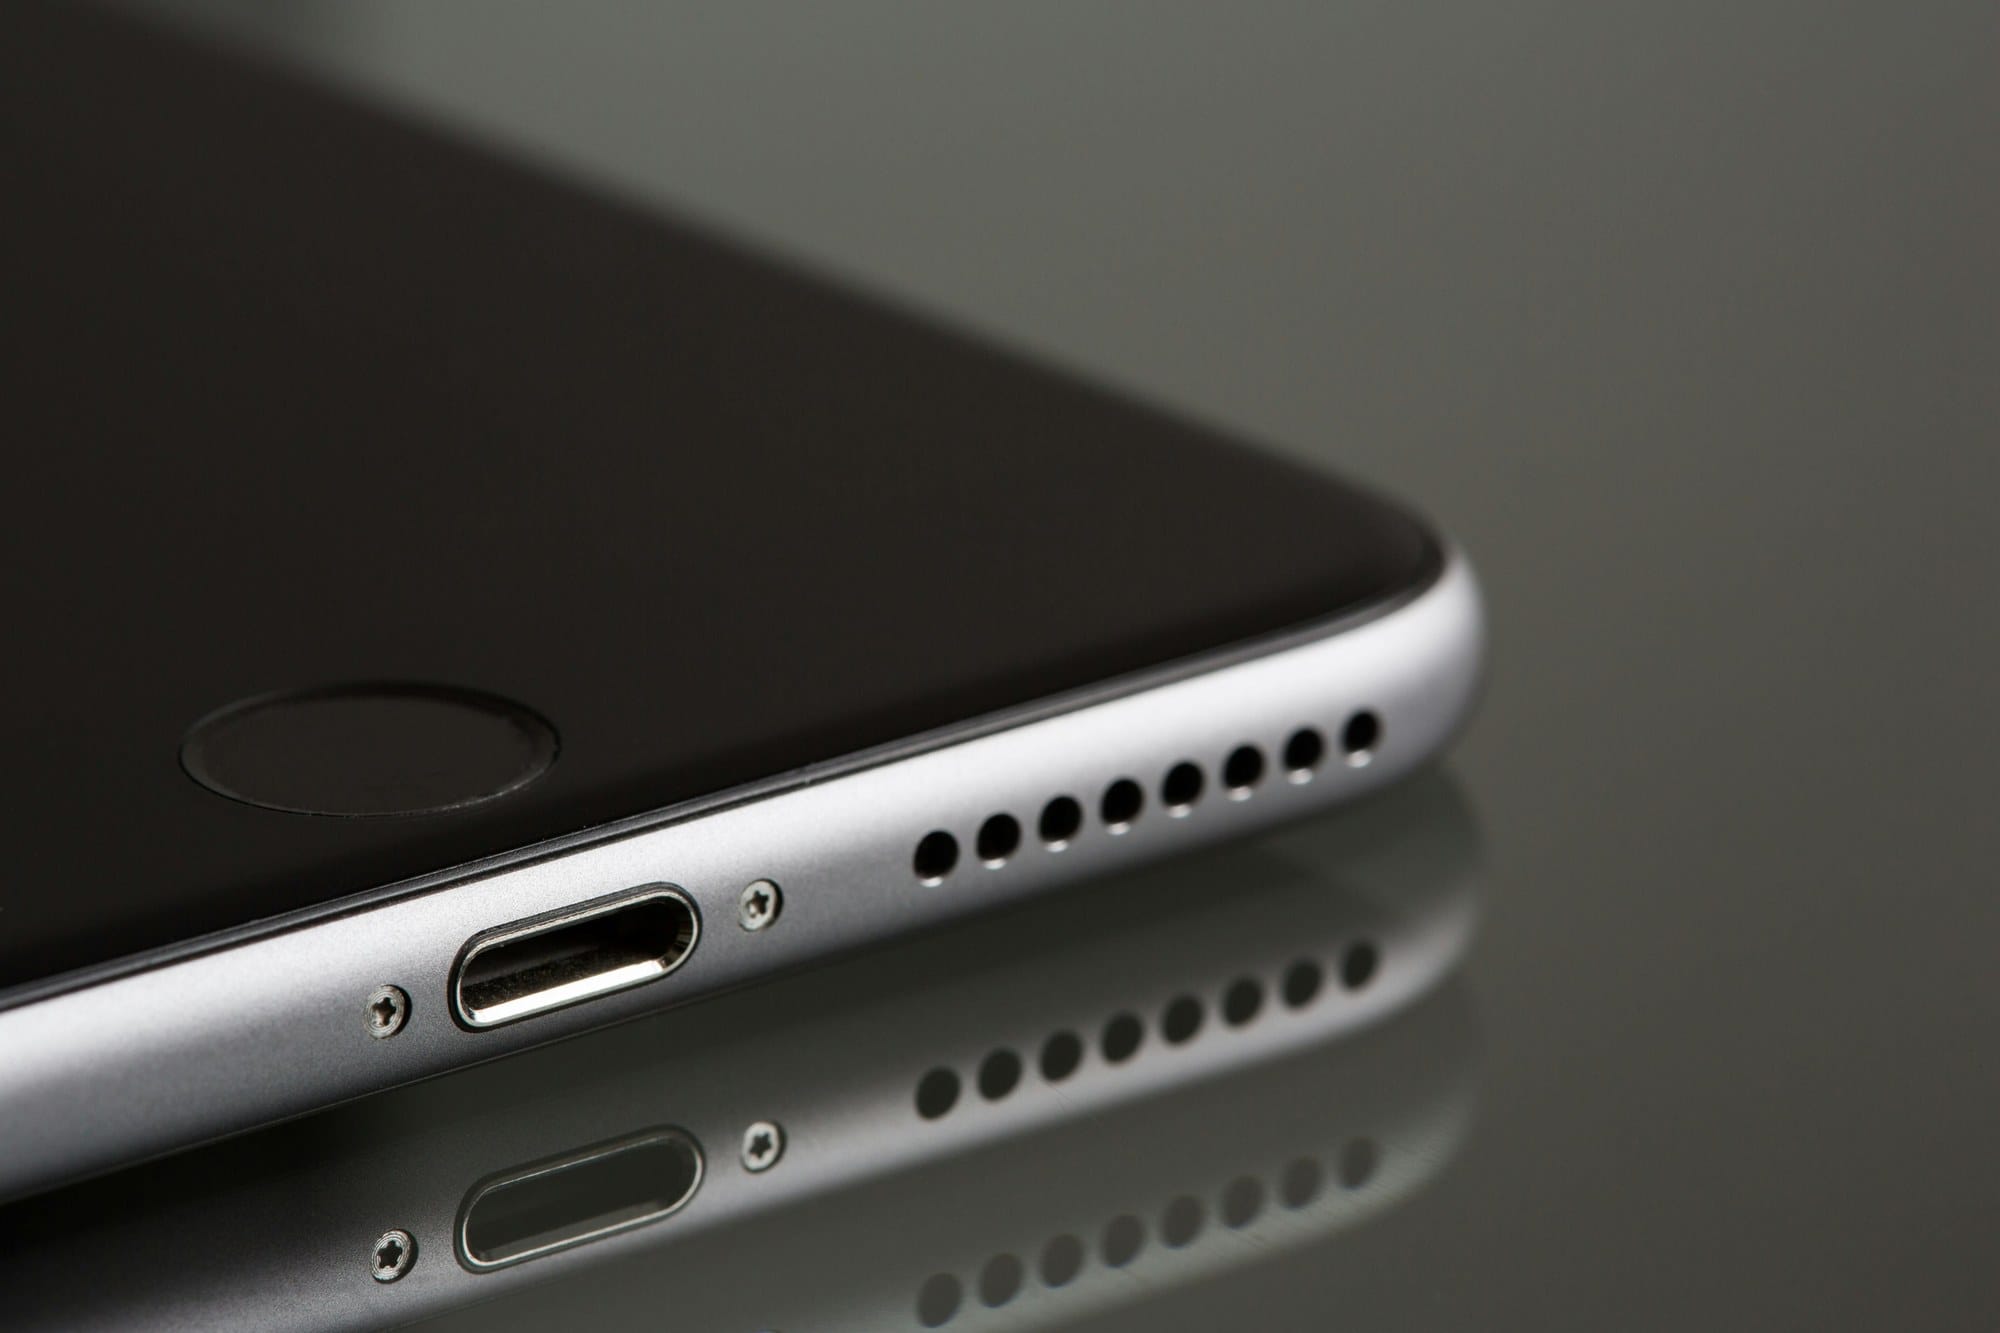
Cleaning the Lightning / USB-C Port
Check for Lint and Debris
Carrying your iPhone in a pocket or bag causes lint, fabric fibers, and dust to pack into the charging port over time. Once enough accumulates, the cable connector can't seat fully, and charging fails. If the cable feels loose, wiggles, or doesn't click into place when inserted, debris is usually the reason.
How to inspect:
- Power off the iPhone.
- Shine a bright light into the port — a flashlight or another phone's torch works well.
- Look for gray or brown clumps or fibers at the bottom of the port.
Even if you can't see anything obvious, a loose-feeling connector is worth cleaning. The pins inside may also be corroded.
Cleaning Steps
Follow these steps to clear debris from the port.
- Power the iPhone off completely.
- Use a wooden or bamboo toothpick (plastic is fine too). Work the tip along the inside walls of the port to loosen packed lint — trace the perimeter rather than pushing straight in.
- Do not press hard, and avoid touching the pin row at the bottom of the port.
- Use a tissue to remove loosened debris.
- Give the port a short burst from a can of compressed air to blow out any remaining fine dust.
- Plug in the cable and check whether charging resumes.
What Never to Do
Never use any of the following when cleaning the port.
- Metal pins, needles, tweezers, or paper clips: One slip bends or snaps a pin, rendering the port unrepairable.
- Inserting a cable while the port is wet: Moisture inside accelerates corrosion and can short-circuit the board.
- Water or cleaning liquids sprayed directly into the port: Even on water-resistant models, the board can corrode.
- A high-pressure air compressor: Can drive debris deeper into the port and past the gasket.
If the cable still feels loose or charging still doesn't work after a thorough cleaning, a pin inside the port may be bent or broken, or a drop impact may have loosened the port's board connection. Both are beyond DIY repair — contact Apple.
Restarting and Force Restarting Your iPhone
Normal Restart
A temporary software glitch can prevent iOS from registering a charging connection. A standard restart clears this — no data is lost.
Face ID models (iPhone X and all later models):
- Press and hold the Side button and either Volume button simultaneously.
- When "slide to power off" appears, slide it.
- Once the screen goes dark, press and hold the Side button again to restart.
Home button models (iPhone SE 1st–3rd gen, iPhone 8 and earlier):
- Press and hold the Side (or Top) button.
- When "slide to power off" appears, slide it.
- Once off, press and hold the Side button to restart.
Force Restart: Steps by Model
If the screen is frozen and a normal restart isn't possible — or if a normal restart didn't fix it — try a force restart. No data is lost.
iPhone 8 and later (all Face ID models):
- Quickly press and release the Volume Up button.
- Quickly press and release the Volume Down button.
- Press and hold the Side button until the Apple logo appears, then release.
iPhone 7 / 7 Plus:
- Press and hold the Volume Down button and the Side button simultaneously.
- Release when the Apple logo appears.
iPhone 6s and earlier / iPhone SE (1st generation):
- Press and hold the Home button and the Top (or Side) button simultaneously.
- Release when the Apple logo appears.
After a force restart, reconnect the cable — charging that wasn't being recognized often begins immediately afterward.
Liquid Alert Showing on Screen
What the Alert Means and What to Do First
When iOS detects moisture in the Lightning or USB-C port, it shows a liquid detected / liquid alert warning on screen. Pushing current through a wet port accelerates corrosion and can short-circuit internal components.
Your iPhone carries an IP67 or IP68 rating (depending on model), but charging through a damp port can still damage it — water resistance does not mean it's safe to charge while wet. When the alert appears:
- Unplug the cable immediately.
- Hold the iPhone connector-side down and gently tap it against your palm to shake out excess moisture.
- Place it somewhere with good airflow, connector side down.
- Let it air-dry for at least three hours before plugging anything in.
Air-Drying and Switching to MagSafe
If you can't wait and absolutely need to charge, iPhone 12 and later support MagSafe — which bypasses the port entirely. The liquid alert does not block MagSafe charging.
Tips to speed up drying:
- Choose a cool, well-ventilated spot (ideally around 68–77°F / 20–25°C).
- Place a packet of silica gel near (not touching) the iPhone to absorb ambient moisture faster.
- A gentle fan breeze works well — never use a hair dryer or any heat source.
Emergency Override Is a Last Resort
In some situations iOS surfaces an "Emergency Override" option that lets you charge anyway despite the liquid alert.
This option exists for genuine emergencies (needing to call 911, for example). Do not use it as a routine workaround. Running current through a wet port speeds up pin corrosion and can eventually destroy the port or the logic board.
Debunking Folk Remedies (Rice, Refrigerator)
You've probably heard "put your wet iPhone in a bag of rice." Or "stick it in the fridge to revive it." Both are myths — don't try either one.
- The rice trick: Rice starch and fine particles get into the port and harden after drying. Rice also absorbs moisture far more slowly than proper silica-gel desiccant. Don't put it in rice — that's a myth.
- Refrigerator / freezer: Rapid temperature changes cause condensation that worsens corrosion inside the device — even on water-resistant models.
- Hair dryer heat: Excess heat can warp the display and damage the battery.
The only correct approach is passive air-drying. Silica gel helps a bit, but folk remedies that seem quicker almost always make things worse.
MagSafe and Wireless Charging Problems
MagSafe Compatibility and Wattage
MagSafe uses a ring of magnets built into iPhone 12 and later to align the charging coil precisely. If you place a MagSafe puck on an older model, it falls back to standard Qi (up to 7.5W).
| Charging Method | Compatible Models | Max Output |
|---|---|---|
| MagSafe (15W) | iPhone 12 and later | 15W (requires 20W+ USB-C PD adapter) |
| Qi2 (15W) | iPhone 13 and later (iOS 17+) | 15W |
| Qi (Apple-certified) | iPhone 8 and later | 7.5W |
| Generic Qi | iPhone 8 and later | 5W |
If MagSafe isn't triggering at all, first make sure the iPhone is centered on the puck. The magnet ring aligns to the area near the Apple logo — wait for the satisfying magnetic snap before setting it down.
Case Interference and Thickness
MagSafe works through cases, but case material and thickness matter a great deal.
- MagSafe-compatible cases: Contain a built-in magnet array that matches Apple's spec, so coil alignment is automatic.
- Non-MagSafe thick cases (3mm or more): The increased distance between coil and iPhone reduces or eliminates charging.
- Wallet or card-holder cases: IC cards (transit cards, credit cards) disrupt inductive coupling. Remove any cards before charging.
If MagSafe isn't registering, try without the case first. If it works without the case, the case is the problem.
Metal Plates and Magnetic Accessories
Thin metal plates (the kind used with some magnetic car mounts) placed between the iPhone and its case strongly interfere with both MagSafe's magnets and its inductive charging coil. Remove the plate before charging wirelessly.
Similarly, strong magnets in accessories — certain car-mount arms or magnetic wallet clasps — can throw off coil alignment. Remove them and try again.
Automatic Speed Reduction Due to Heat
MagSafe runs warmer than wired charging. Once the iPhone's internal temperature exceeds a threshold, iOS automatically throttles charging speed and may pause charging altogether to protect the battery. This is by design.
- "Charging Paused" on the Lock Screen = thermal protection is active.
- Remove the case and move to a cooler spot.
- Running graphics-intensive apps (games, video recording) while on MagSafe heats the device fastest — avoid it.
Software and Settings Checks
Update to the Latest iOS
Occasionally an iOS bug affects charging recognition — "no charging icon," "MagSafe not detected," and similar issues have appeared in specific point releases and been fixed in minor updates shortly after.
How to update:
- With the iPhone plugged in, open Settings → General → Software Update.
- If an update is available, tap Download and Install.
- Once updated, reconnect your cable and check charging behavior.
iOS updates require at least 20% battery. If you're below that, use an alternate charging method (MagSafe, or a second cable that's known-good) to get above 20% first.
Optimized Battery Charging: On/Off
If charging automatically stops around 80%, Optimized Battery Charging is almost certainly the cause. This built-in Apple feature learns your daily usage routine and delays the final charge to 100% to slow battery chemical aging. It is not a defect.
To check or change it:
- Open Settings → Battery → Battery Health and Charging.
- Review the Optimized Battery Charging toggle.
- To charge to 100% right now, tap Charge to 100% Now (a one-time override).
For long-term battery longevity, leave this feature on. Only disable it temporarily when you genuinely need a full charge in a hurry.
Checking Battery Health
View Maximum Capacity in Settings
iPhone batteries lose capacity with every charge cycle. A degraded battery charges inefficiently — you may see the percentage climb very slowly or the battery reporting full at a lower actual capacity than normal.
Steps to check:
- Open Settings → Battery → Battery Health and Charging.
- Look at the Maximum Capacity percentage (100% when new).
- Read the "Important Battery Messages" section for Apple's diagnosis.
Below 80%? Consider a Battery Replacement
Apple recommends a battery replacement when Maximum Capacity falls below 80%. At that point, you're likely to experience:
- Longer charge times (the charging circuit limits current to protect a degraded cell).
- Real-world battery life reduced to 80% or less of when the phone was new.
- Unexpected shutdowns (the battery can't meet sudden power demands even when percentage shows remaining charge).
- Excessive heat during charging.
Get the replacement done at an Apple Store or an Apple Authorized Service Provider (AASP). If you have AppleCare+ and Maximum Capacity is under 80%, Apple will replace the battery at no extra charge.
Peak Performance Capability Warning
When the battery has deteriorated significantly, Settings → Battery → Battery Health and Charging may display a Peak Performance Capability warning. At that stage:
- iOS may throttle CPU performance to prevent unexpected shutdowns.
- Charging behavior can differ from normal operation.
- Apple's own diagnostic recommends a battery replacement.
If this warning is present, prioritize getting a battery replacement. Most users find that their iPhone feels noticeably faster and charges normally again after the replacement.
Charging from a Computer
USB Ports on PCs Often Can't Supply Enough Power
Trying to charge an iPhone from a Mac or Windows PC can result in "Not Charging" being displayed, or the battery barely moving even with the cable connected.
- USB-A ports (the standard rectangular ones): Typically max out at 5V/0.5A (2.5W) — far too little to meaningfully charge an iPhone.
- USB-C ports on a PC: Output varies widely (5–15W is typical); check whether the port supports USB PD before relying on it.
- USB hubs: Even powered (self-powered) hubs usually throttle per-port current.
If you need to sync while charging, connect through the PC while also running a separate wall adapter, or use a Thunderbolt / USB-C PD port. When in doubt, switch from the PC to a wall outlet — that's the most reliable fix.
Trusting the Computer
The first time — or after a long gap — you connect an iPhone to a PC, you may see "Trust This Computer?" on the iPhone screen.
- Tapping Don't Trust still allows charging; it only blocks data sync.
- Tapping Trust lets Finder on Mac, or the Apple Devices app on Windows, recognize your iPhone.
- If the dialog never appears and the PC still doesn't see your iPhone, check your cable quality or try a different USB port.
Note: the PC recognizing your iPhone for sync and the PC being able to charge your iPhone are separate issues. If sync works but charging doesn't, revisit the power output section above.
Completely Unresponsive After Long Storage (Deep Discharge)
Leaving an iPhone unused for weeks or months can drain the battery completely, pushing it into a deep discharge state where the normal startup charging sequence can't run. In this state, plugging in produces absolutely no screen response.
How to recover:
- Use an Apple original or MFi-certified cable with a 20W or higher wall adapter.
- Plug directly into a wall outlet and leave it alone for at least 30 minutes — don't unplug or press any buttons.
- After 30–60 minutes the Apple logo or a low-battery icon should appear, indicating recovery has begun.
- Let it reach around 5% before attempting to turn it on.
A PC USB port or portable battery bank may not deliver enough current to pull the iPhone out of deep discharge. Use a wall adapter rated 20W or higher, plugged directly into the outlet. If there's still no response after 30+ minutes, the issue is likely hardware failure or a physically degraded battery — bring it to an Apple Store.
Suspecting Hardware Failure — When to Get a Repair
Signs That Repair Is Needed
If you've tried everything above and nothing works, hardware failure is the likely culprit. The following situations strongly suggest repair is necessary.
- Multiple different cables and adapters have been tried, and none show a charging icon.
- Even after cleaning, the cable sits loose and doesn't click in — pins inside the port may be bent or broken.
- Charging stopped working after the phone was dropped or submerged — internal board damage is possible even when the exterior looks fine.
- Maximum Capacity has dropped sharply (60–70% or lower) and the battery drains fast no matter how you charge.
- Charging icon appears but the percentage doesn't move — or actually decreases.
Apple Support and the Genius Bar
When DIY fixes run out, Apple's official channels are the fastest path to a resolution.
- Genius Bar at an Apple Store: Walk-in diagnostics and a repair quote at no charge. Appointments are required.
- Apple Authorized Service Provider (AASP): The alternative when there's no Apple Store nearby. Apple-certified technicians, Apple parts.
- Apple Support app / support.apple.com: Chat, phone support, and mail-in repair options.
Check your AppleCare+ status first:
Before dropping the phone off, verify whether you're covered by AppleCare+. If you are, even accidental damage (water, drops) is repaired at a significantly reduced fee. Check coverage at Settings → [Your Name] → Subscriptions or at appleid.apple.com.
Risks of Third-Party Repair Shops
Third-party shops that replace ports or batteries are a legitimate option, but understand the trade-offs before you go.
- Non-Apple repair voids Apple's service coverage for that component going forward.
- If you later visit an Apple Store, technicians may decline service if unauthorized modifications are detected.
- If the battery is non-genuine, Settings → Battery → Battery Health and Charging will show "Service" instead of your actual Maximum Capacity percentage.
- Water resistance is not guaranteed after any third-party repair.
From a value standpoint, if your iPhone is four or more years old and you don't have AppleCare+, compare the repair cost against the price of a new iPhone before committing.
Summary: Troubleshooting Checklist in Order
When your iPhone won't charge, work through the steps below in this order. The majority of cases are solved by the first two or three steps.
- Swap the cable: Use an MFi-certified Lightning cable (iPhone 14 and earlier) or a USB PD-capable USB-C cable (iPhone 15 and later).
- Try a different 20W+ wall adapter: Plug directly into the wall — rule out PC ports and USB hubs.
- Clean lint and debris from the port: Use a wooden toothpick and a can of compressed air. Never use metal tools.
- Restart or force restart the iPhone: Clears temporary software glitches.
- If a liquid alert is showing, air-dry first: Wait 3+ hours, then charge via MagSafe or retry the port.
- If only MagSafe isn't working, remove the case: Also remove metal plates and magnetic accessories.
- After long storage, keep it plugged in for 30+ minutes: Deep-discharge recovery takes time.
- Update to the latest iOS: A bug fix may already be available.
- Check Battery Health: Open Settings → Battery → Battery Health and Charging and review Maximum Capacity.
- Contact Apple for a repair: If none of the above helps, hardware failure is likely.
Most charging problems are fixed by swapping the cable or cleaning the port. Make it a habit to try those two steps first, then restart — and you'll handle the vast majority of charging issues quickly. For a broader look at iPhone problems, see the iPhone Troubleshooting Guide | Fixes Organized by Symptom. If you're having the same issue on an iPad, check out How to Fix an iPad That Won't Charge | Cable, Adapter, and Port Cleaning Checklist.