Apple Pencil is essential gear for sketching and note-taking on iPad, but the charging methods are completely different from one generation to the next. Some plug into Lightning, some magnetically attach to the iPad's side, and the newer USB-C model uses a cable.
This guide walks through each generation's charging method, how to check battery level, and what to try when charging won't kick in. We start with how to tell which Apple Pencil you actually own, because that step trips up a surprising number of people.
Table of Contents
- Identifying Your Apple Pencil Generation
- Charging Apple Pencil (1st Generation)
- Charging Apple Pencil (2nd Generation)
- Charging Apple Pencil (USB-C)
- Charging Apple Pencil Pro
- Checking Battery Level
- When Charging Won't Start
- Wrap-Up
Identifying Your Apple Pencil Generation
You need to know which generation you own before any of the charging instructions matter.
Visual Cues
Telling the four generations apart by appearance:
- 1st Generation: A perfect cylinder. Pull off the cap and a Lightning connector is exposed at the end.
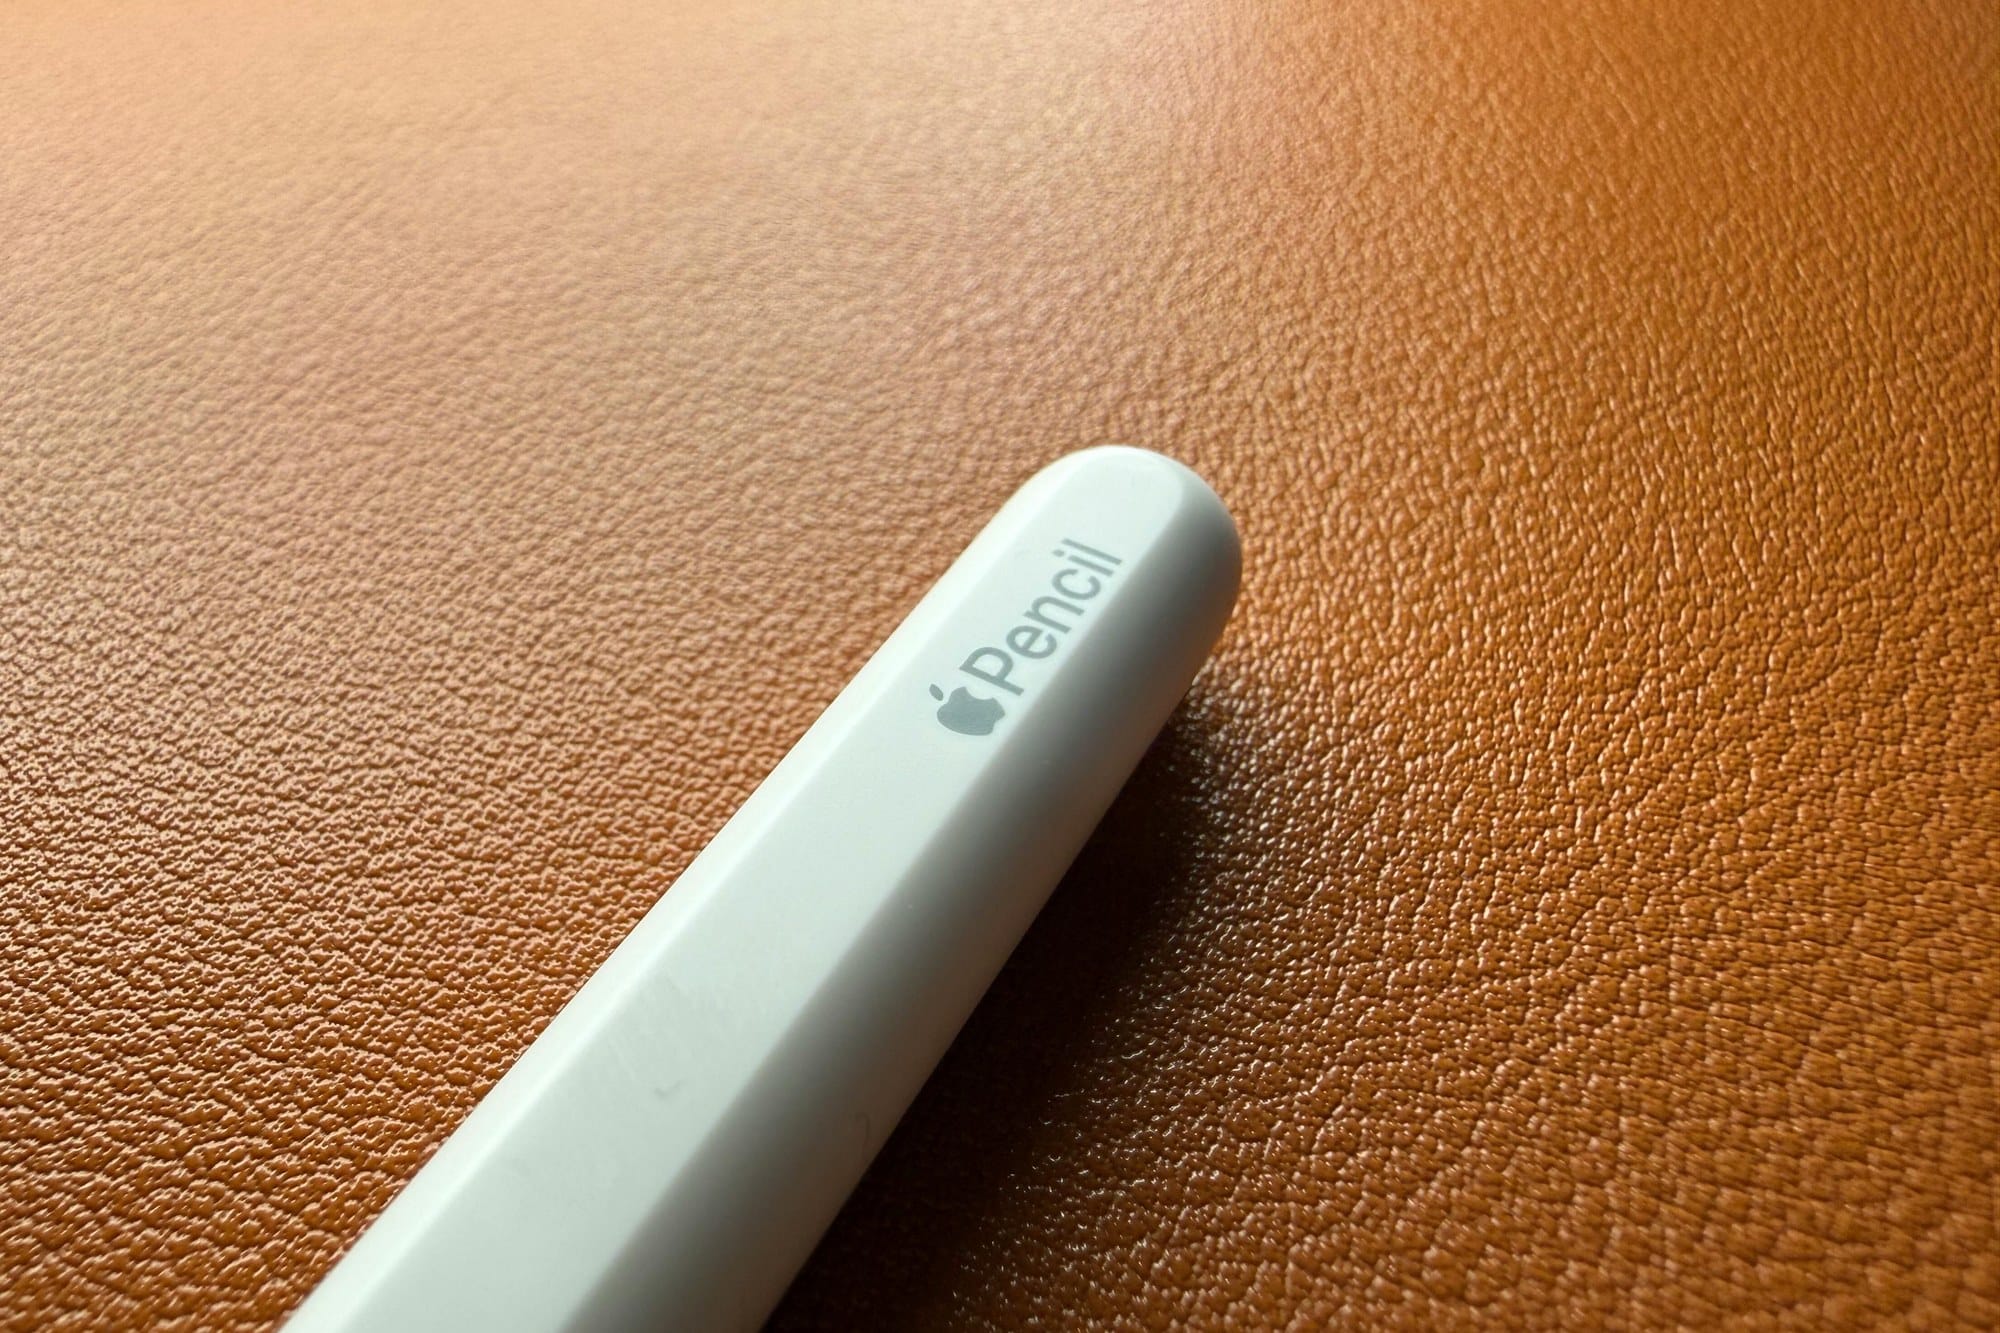
- 2nd Generation: One side of the barrel is flat, with the Apple logo and "Pencil" engraved on that flat side.
- Apple Pencil (USB-C): Similar flat profile to the 2nd gen, but pull off the end cap and a USB-C port is revealed.
- Apple Pencil Pro: Looks like the 2nd gen but engraved with "Pencil Pro". Only works with M2/M4 iPads.
Identifying by Compatible iPad
Your iPad model dictates which Pencil generations even work:
- 1st Generation: Lightning-port iPads — iPad 9/10, iPad mini 5, iPad Pro 1st/2nd gen, etc.
- 2nd Generation: iPad Pro 2018–2022 (M2), iPad Air (M1–M2), iPad mini 6
- Apple Pencil (USB-C): Most USB-C iPads from 2022 onwards (the budget option)
- Apple Pencil Pro: M2 iPad Air and M4 iPad Pro only
Charging Apple Pencil (1st Generation)
The 1st generation pulls power from the iPad via its Lightning connector.
Plug Directly Into the iPad's Lightning Port
Pop the cap off the 1st gen Pencil and plug it straight into the iPad's Lightning port. Apple specifies 15 minutes for a full charge, and 15 seconds of quick charging gets you about 30 minutes of use. The Pencil sticks out awkwardly while plugged in, so it's worth doing in short bursts rather than leaving it for hours.
Use the Lightning Adapter
If plugging directly into the iPad makes you nervous, the small Lightning male-to-female adapter (included in the box) lets you charge through a regular Lightning cable instead. Slot the adapter onto the Pencil, plug a Lightning cable into the other end, and the Pencil charges flat on the desk. The adapter is easy to lose — keep it in your pencil case for safety.
Charging Apple Pencil (2nd Generation)
The 2nd generation is the slickest method — just stick it to the side of the iPad.
Magnetic Attachment on the iPad Side
Place the 2nd gen Pencil against the side of a compatible iPad (the right side when held in portrait) and the magnets snap it into place, kicking off pairing and charging simultaneously. A battery-level popup appears on the iPad, and the Pencil stays at full charge as long as it's attached. Leaving it on the iPad even when you're not using it keeps it ready at all times.
Why USB-C and Lightning Cables Won't Work
The 2nd generation supports only magnetic charging. There's no port on the body, so USB-C and Lightning cables don't do anything. If you're out and about and the iPad dies, the 2nd gen Pencil effectively can't be charged separately — keep that in mind for travel.
Charging Apple Pencil (USB-C)
The budget Apple Pencil (USB-C) charges with — appropriately — a USB-C cable.
Charging via USB-C Cable
Slide off the end cap to expose the USB-C port and plug in a USB-C cable. Anything with USB-C output works: an iPad, a MacBook, a USB-C wall charger. There is no magnetic charging support, so you'll need to carry a cable.
The Magnetic Sleeve Is for Storage Only
The Apple Pencil (USB-C) does magnetically attach to the side of the iPad, but the magnetic contact does not deliver power. Think of it as a docking station for storage, not charging. Don't make the mistake of assuming it's charging just because it's clinging to the iPad.
Charging Apple Pencil Pro
Apple Pencil Pro — the newest model, exclusive to M2 iPad Air and M4 iPad Pro — uses the same magnetic system as the 2nd generation.
Magnetic Attachment on the iPad Side
Attach the Pencil Pro to the side of a compatible iPad and pairing and charging start magnetically, exactly like the 2nd gen. A battery and pairing popup appears at the top of the screen. The Pro-only features (squeeze, barrel roll, haptic feedback) only operate on compatible iPads.
Compatible iPad Models
Apple Pencil Pro works only with M2 iPad Air (11″/13″) and M4 iPad Pro (11″/13″) and later. It's not backward compatible with the 2nd gen Apple Pencil — attaching it to an older iPad Pro (M1) won't charge or function. Double-check before buying.
Checking Battery Level
Regardless of which generation you have, there are several ways to check the battery.
Home Screen Battery Widget
Add the Batteries widget to the iPad Home Screen and your iPad and Apple Pencil battery levels are always visible. Long-press the home screen → Edit Widgets → Batteries to add it. For anyone who uses Apple Pencil daily, this is the most practical method.
The Attachment Popup
The moment you magnetically attach a 2nd gen or Pencil Pro to the iPad, a popup like "Apple Pencil 80%" appears at the top of the screen. Detach and reattach to see it again any time.
Control Center
On iPadOS 17 and later, you can customize Control Center to include a Battery control, giving you a quick way to peek at Apple Pencil's battery level. Add it from Settings → Control Center → Battery.
When Charging Won't Start
Typical fixes for "the magnetic attach won't charge it" or "plugging into Lightning does nothing."
Verify Bluetooth Pairing
The 2nd gen and Pencil Pro won't start charging if the Bluetooth pairing has dropped. Open Settings → Bluetooth and check whether the Apple Pencil is listed. If it isn't, detach it from the iPad, reattach to the side, and wait a few seconds. If it still doesn't appear, remove the Apple Pencil entry from Settings → Bluetooth and re-pair from scratch.
Update iPadOS
Older iPadOS versions don't recognize newer Pencil generations (Apple Pencil Pro especially). Update to the latest iPadOS via Settings → General → Software Update and try again.
Clean the Contacts and Reattach
A dirty Lightning connector on the 1st gen, or dust on the 2nd gen's magnetic contacts, can block charging. Wipe gently with a dry soft cloth and reattach. Be careful with the 1st gen's Lightning end — it's fragile, so don't apply force.
Wrap-Up
Apple Pencil charging is completely different per generation, so the first step is always identifying which Pencil you actually own. Once that's settled, the rest is straightforward: 2nd gen and Pencil Pro attach magnetically; 1st gen and USB-C versions take a cable.
I keep my 2nd gen attached to the iPad Air permanently, and it has more or less removed "charging the Apple Pencil" as a thing I think about. To avoid panic moments away from home, get into the habit of checking the Batteries widget on your way out.