When you want to work with two apps side by side on a Mac, there are three main options: Split View (full-screen split), Stage Manager (the newer window manager), and manual window arrangement. Each one is suited to different kinds of work, so choosing the right method for the task can make a big difference. This article covers every screen-splitting pattern for macOS Sonoma / Sequoia and later, with practical examples. For other operations such as force quitting apps, see What to Do When Your Mac Freezes. For general Mac troubleshooting, see Mac Troubleshooting Guide.
Table of Contents
- There Are Three Main Ways to Split the Screen on Mac
- How to Start and Use Split View
- Useful Ways to Use Split View
- Stage Manager Basics
- Window Tiling in macOS Sequoia and Later
- Traditional Manual Window Arrangement
- Splitting the Screen with an External Display
- Troubleshooting
- Summary: The Best Screen-Splitting Method by Task
There Are Three Main Ways to Split the Screen on Mac
The main ways to split the screen on a Mac are based on different ideas, so the practical approach is to choose according to the work you are doing. Once you understand which one fits your workflow, the rest of the operations become much easier to follow.
Split View: Split the Screen in Full Screen
This feature shares full-screen mode between two apps. It is ideal when you want to focus on two panes, such as writing while looking at reference material or replying while reading an email. Because the Dock and menu bar disappear, it reduces distractions. The tradeoff is that you cannot immediately return to a third app.
Stage Manager: Manage Multiple Apps in Stacks
This feature was added in macOS Ventura. It shows the window you are currently using large in the center, while placing the others as thumbnails along the left edge, making it easier to move between multiple apps while working. Unlike Split View, it is not fixed to a two-pane layout, and you can group windows together.
Manual Tiling: Arrange Windows at Any Size
This means using normal windows arranged side by side, without Split View or Stage Manager. Starting with macOS Sequoia, Apple added a feature that lets you snap windows by dragging them to the edge of the screen, making it possible to split the screen in a way similar to Windows snap. It offers the most flexibility and works well for complex layouts.
How to Start and Use Split View
Split View has been available for a long time, since OS X El Capitan, and is highly stable. If you only need a simple two-way split, this is usually the first choice.
How to Start from the Green Button
Move the cursor over the green button in the upper-left corner of the window (the full-screen button) and press and hold it. A "Tile Window" menu will appear. Choose "Tile Window to Left of Screen" or "Tile Window to Right of Screen." The selected window moves to that side, and thumbnails of other apps appear on the opposite side. Select the app you want to pair from those thumbnails, and Split View is complete.
How to Add an Already Open Window
Open Mission Control by swiping up with three fingers on the trackpad or pressing F3. From the list of spaces at the top, you can drag and drop a window onto an existing Split View to add it. You can also move a window that is currently in Split View to another space through Mission Control.
How to Leave or End Split View
Move the cursor to a window in Split View. The menu bar will faintly appear at the top. Click the green button in the upper-left corner to exit full-screen mode for that window. If you want to return both windows to normal windowed mode, exit full screen one window at a time. You can also leave full-screen mode with the Esc key or Control + ⌘ + F.
Useful Ways to Use Split View
Once you get used to Split View, adjusting the ratio, swapping the left and right apps, and using it with Mission Control can make everyday work much more efficient.
Change the Left-Right Ratio
Drag the divider in the center of Split View to adjust the ratio between the left and right sides. The default is 50:50, but many workflows are more comfortable at 3:7 or 4:6, with one side narrower and the other wider. The ratio is remembered for each Split View session, and if you use the same app combination again, it will reopen with the same ratio.
Swap Apps Left and Right
While in Split View, drag an empty area of the top menu bar and drop it on the opposite side to swap the left and right apps. This lets you optimize the layout for your dominant hand or natural eye movement. A common setup is Safari on the left and Notes on the right, so you can take notes while reading an article.
Use It Together with Mission Control
Split View occupies one independent Mission Control space, or virtual desktop. You can move to the previous or next space with Control + ←/→, and you can run multiple Split View spaces at the same time and switch between them. Separating them by purpose, such as "writing Split View" and "research Split View," can make it easier to stay focused.
Stage Manager Basics
Split View is fixed to two panes, but when your work involves moving between three or more apps, Stage Manager is often a better fit.
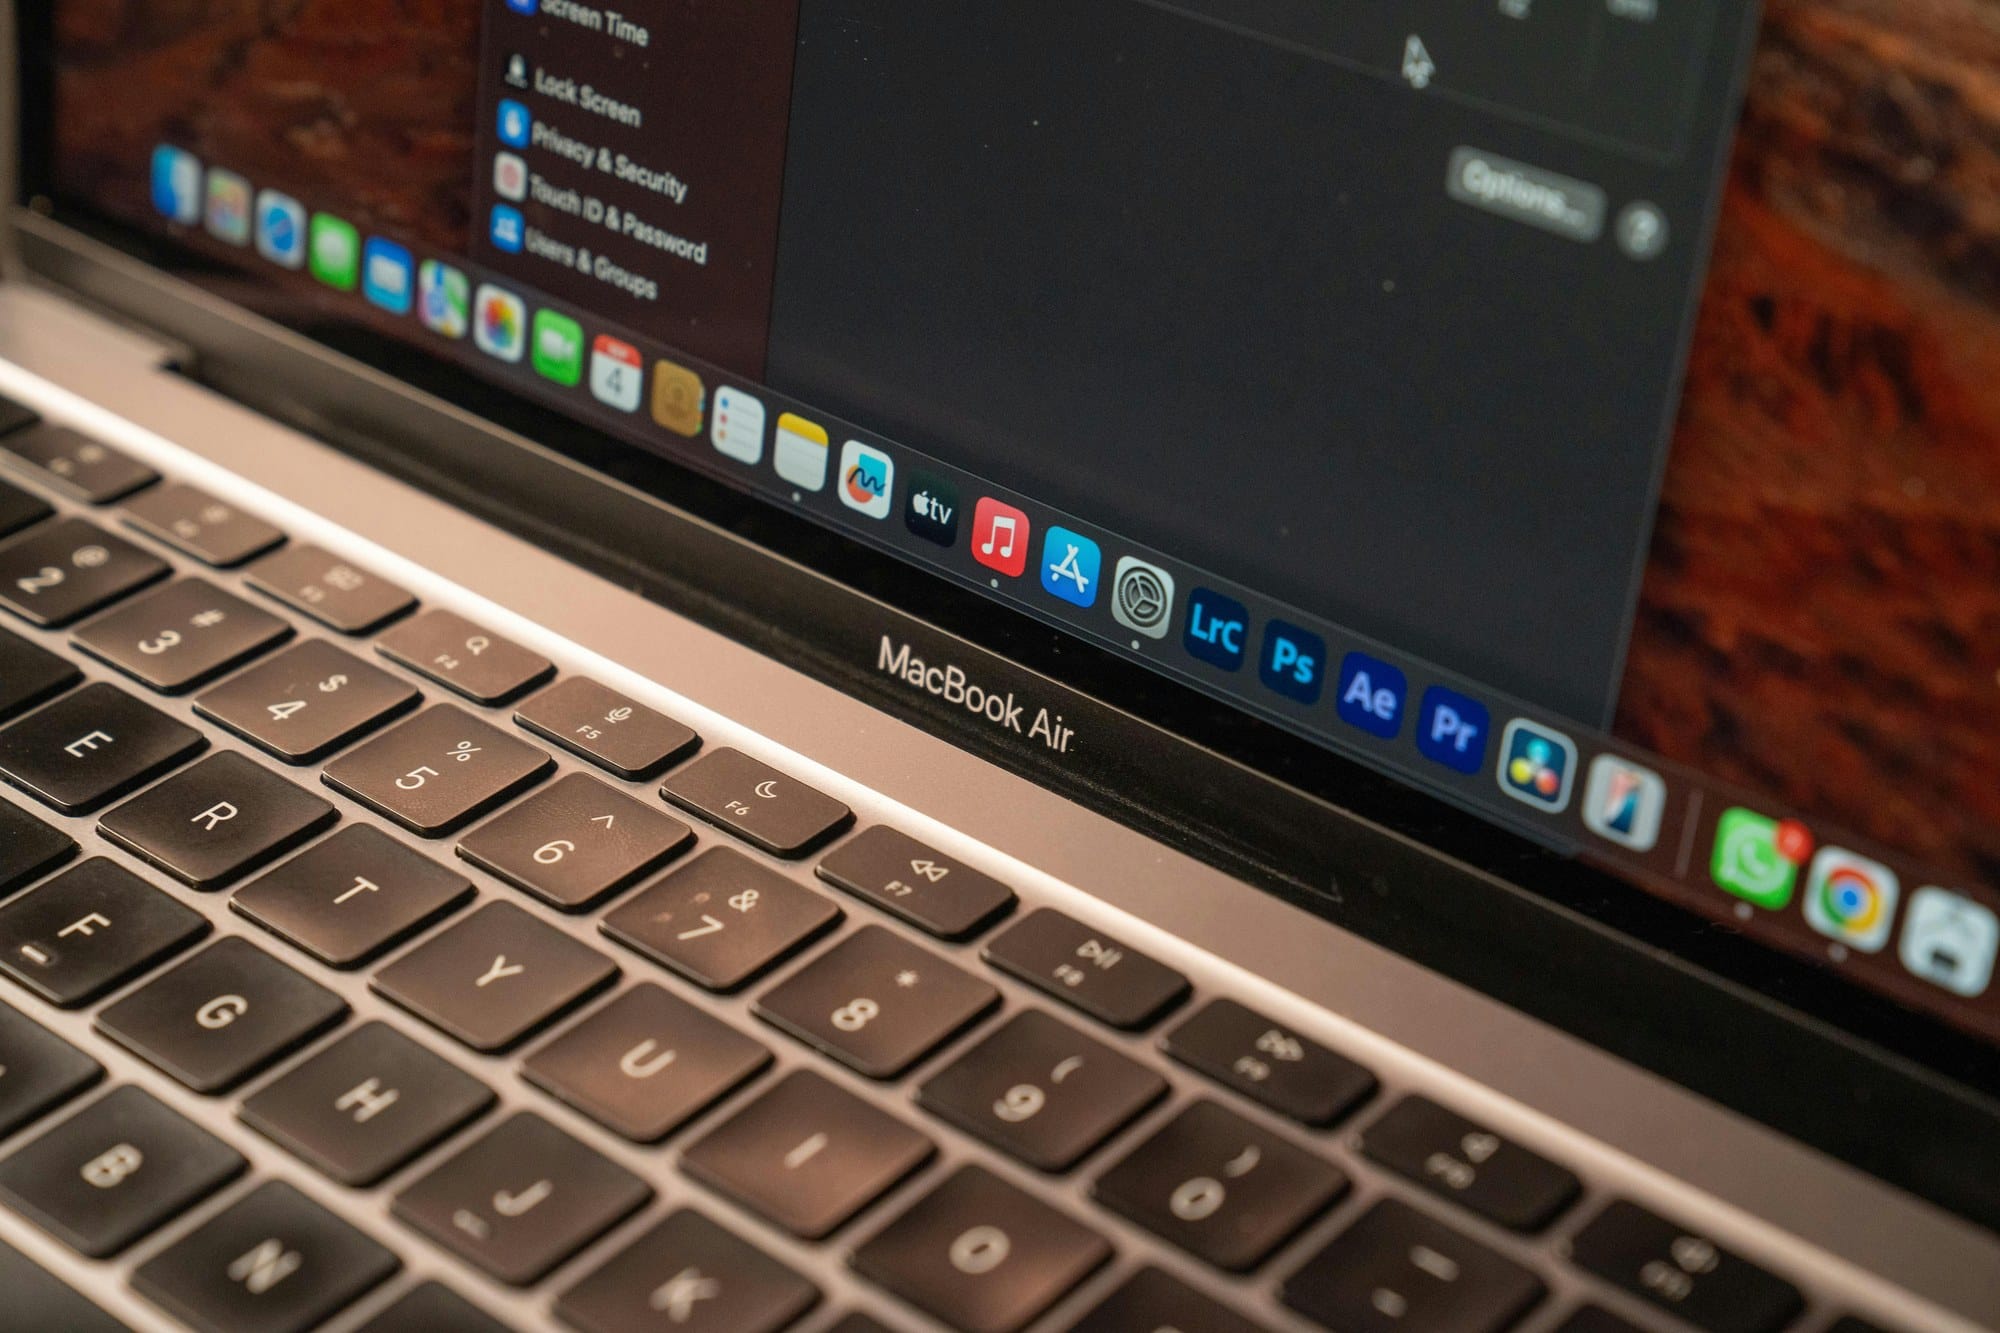
How to Turn On Stage Manager
Click the Control Center in the upper-right corner of the screen, then click the Stage Manager icon. You can also turn it on from "Settings" → "Desktop & Dock" → "Stage Manager" near the bottom. Once enabled, windows gather in the center of the screen, and thumbnails of other apps appear along the left edge.
Group and Switch Windows
To group windows, drag and drop another window from the thumbnails on the left onto the window currently shown in the center. Grouped apps are displayed and minimized together, so you can instantly bring back work pairs such as "Safari and Notes" or "Mail and Calendar." To remove a window from a group, drag that window back to the thumbnail area on the left.
When Stage Manager Works Well, and When It Does Not
Good fit: general work that involves moving between multiple apps, everyday workflows where you switch among Mail, Slack, a browser, and Notes, or managing multitasking on a MacBook without an external display.
Poor fit: focused writing with two panes where Split View is less distracting, comparison work where you want to see multiple windows at once, or small screens where you do not want the thumbnail area to take up space.
Window Tiling in macOS Sequoia and Later
Starting with macOS 15 Sequoia, released in fall 2024, Windows-style drag snapping is built into macOS.
The New Drag-to-Snap Feature
When you drag a window close to the left edge, right edge, or top edge of the screen, a preview showing where it will fit appears. Release the window, and it snaps into that position. It can automatically fit into several layouts, including the left half, right half, top half, or one quarter of the screen. This brings a feature similar to Windows Snap Layouts to macOS as a built-in function.
Tile Suggestions with the Option Key
If you hold down the Option key while dragging a window, more detailed tile suggestions appear, such as left third, center third, and right third. Because you can quickly create complex layouts such as three-column views or four-way splits, this is useful for coding, data analysis, and monitoring work.
Keyboard Shortcut List
Shortcuts are assigned under the "Window" menu in the menu bar → "Move" → each tiling option. Common examples:
- Control + Option + ← : Tile to left half
- Control + Option + → : Tile to right half
- Control + Option + ↑ : Tile to top half
- Control + Option + Return : Fill (maximize)
You can change these shortcuts from "Settings" → "Keyboard" → "Keyboard Shortcuts."
Traditional Manual Window Arrangement
These are manual methods for environments before macOS Sequoia or for cases where you want finer placement.
Split with Option-Click on the Green Button
If you click the green button in the upper-left corner of a window while holding the Option key, a menu appears with zoom options instead of full screen, such as "Zoom to Left Half of Screen" or "Zoom to Right Half of Screen." "Zoom" is the normal maximize behavior, while "Zoom to Left Half of Screen" and "Zoom to Right Half of Screen" are instant tiling actions.
Comparison of Third-Party Tools Such as Magnet
Popular choices before Sequoia:
- Magnet (one-time purchase): Many split options via shortcuts; a standard choice for coding-focused users
- Rectangle (free): An open-source alternative to Magnet with almost the same feature set
- BetterSnapTool: Best for users who want detailed customization
Since Sequoia and later can cover the basics with built-in features, you no longer need to add anything extra for standard screen splitting. Third-party tools are mainly for people who need more complex grid layouts.
Use App-Level Snap Features
Some apps, such as Final Cut Pro, Logic Pro, and Adobe apps, have their own built-in layout features. Since they let you arrange multiple panels inside a single window, app-level layouts are often more convenient than OS-level screen splitting when using these apps.
Splitting the Screen with an External Display
When using an external monitor, you can run Split View / Stage Manager independently on both the built-in display and the external display.
Use Split View on an External Display
The steps are the same for windows on an external display: click the green button, then choose a window tiling option. Each display is treated as an independent "space," so you can use a normal desktop on the built-in display and Split View on the external display.
Move Windows Between Displays
Drag a window by its title bar and drop it onto another display to move it. You can also do this by dragging between spaces in Mission Control. If "Displays have separate Spaces" is enabled in System Settings → "Desktop & Dock" → "Mission Control," window arrangement behavior across displays changes, so switch it according to your preference.
Use an iPad Together with Universal Control
If you place an iPad next to your Mac and enable Universal Control, the Mac cursor can move seamlessly to the iPad. Strictly speaking, this is not screen splitting, but using "Mac for writing and iPad for reference material" effectively creates a three-screen setup. Combined with Split View, you can manage up to four screens at once.
Troubleshooting
Here are fixes for common screen-splitting problems.
The Green Button Does Not Respond
If nothing happens when you press the green button, check "Settings" → "Control Center" → "Display." Also check "Settings" → "Desktop & Dock" to make sure window tiling-related settings are not turned off. Restarting your Mac may also fix the issue.
You Cannot Exit Split View
If you cannot leave Split View, the Esc key will resolve it in most cases. If that does not work, use Control + ⌘ + F to exit full-screen mode. If the app is frozen, press ⌘ + Option + Esc and force quit it. For details, see What to Do When Your Mac Freezes.
Some Apps Disappear in Stage Manager
If windows disappear from the thumbnail area while using Stage Manager, check "Settings" → "Desktop & Dock" → "Stage Manager" → "Customize." Turning on "Recent applications" increases the number of apps shown in the history. In some cases, the app simply is not running, so reopen it from the Dock or launcher.
Summary: The Best Screen-Splitting Method by Task
There are three ways to split the screen on a Mac, and the right answer is to use them according to the task.
| Task | Recommended Method |
|---|---|
| Writing or coding while viewing reference material | Split View (best for focus) |
| Everyday work while switching between multiple apps | Stage Manager (flexible switching) |
| Managing multiple windows with a detailed layout | Sequoia drag snapping (maximum flexibility) |
| Detailed splitting before Sequoia | Magnet / Rectangle |
If you want to "just split the screen in two and focus," use Split View. If you "move between lots of apps all day," use Stage Manager. If you "build complex grids every day," use Sequoia's snap feature. Remembering it this way will help you choose quickly. The equivalent feature on Windows is covered in How to Split the Screen on Windows.